


Dedicated GPU Service
Introduction
The Dedicated GPU Service provides enterprise-grade GPU acceleration for your cloud virtual machines through a structured request-based provisioning system. This service delivers guaranteed performance, flexible multi-GPU configurations, and seamless integration with your existing cloud infrastructure.
Unlike shared GPU resources, our dedicated service ensures that each GPU is exclusively allocated to your virtual machine, providing consistent performance for demanding AI, machine learning, and visualization workloads.
Key Features
Request-Based Provisioning
- Manual Review Process: All GPU requests are reviewed and provisioned by our SITE Cloud team.
- Guaranteed Allocation: Once approved, GPUs are exclusively dedicated to your VM.
Multi-GPU Support
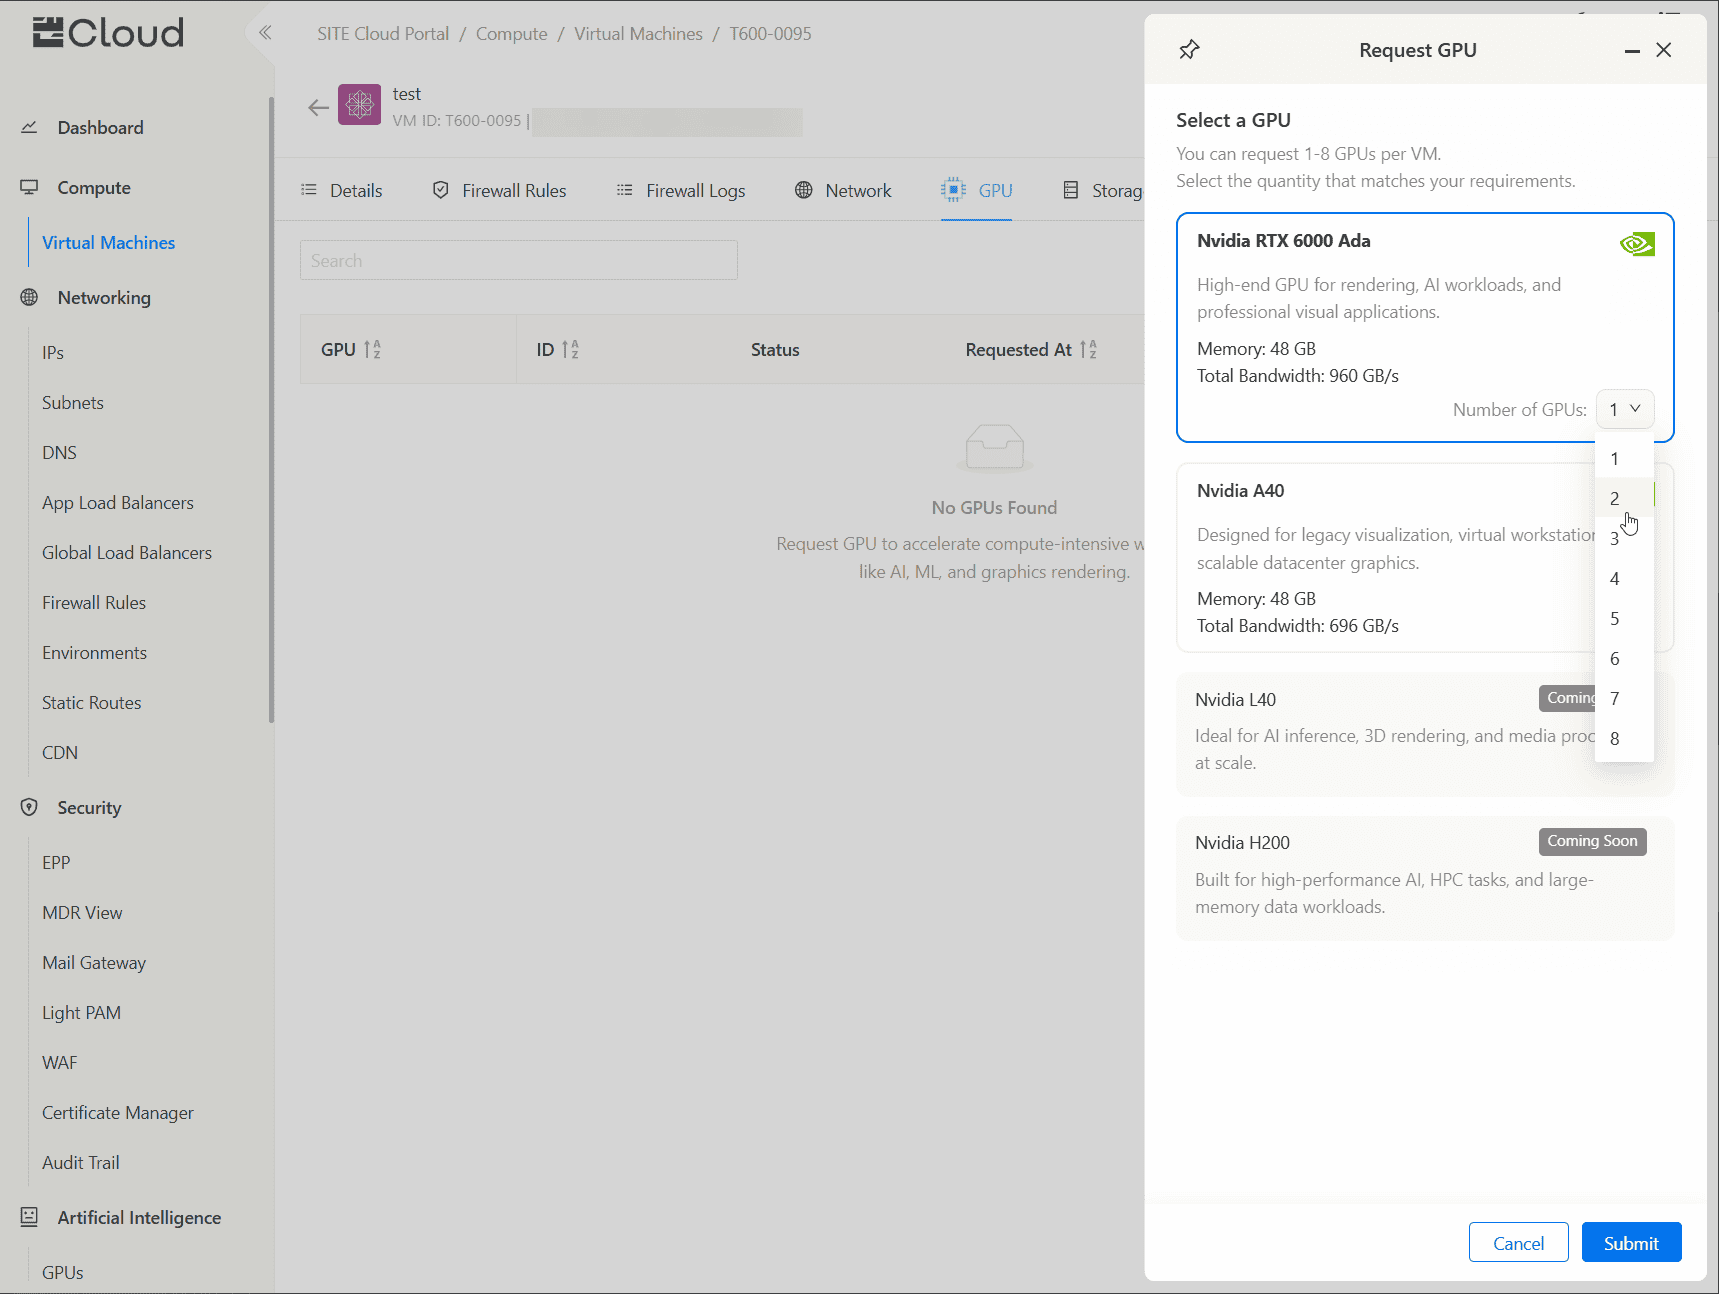
- Up to 8 GPUs per VM: Scale your parallel processing capabilities within a single virtual machine.
Common Use Cases
AI Model Training
- Large Language Models: Train transformer models with substantial memory requirements.
- Distributed Training: Utilize multiple GPUs for parallel model training.
- Computer Vision: Process large datasets for image classification and object detection.
- Deep Learning Research: Experiment with complex neural network architectures.
Professional Visualization
- 3D Rendering: Accelerate architectural and product visualization workflows.
- CAD/CAE Applications: Run complex engineering simulations and designs.
- Media Production: Process high-resolution video content and visual effects.
- Scientific Visualization: Generate complex scientific and research visualizations.
High-Performance Computing
- Cryptographic Operations: Perform intensive encryption workflows.
- Scientific Computing: Accelerate mathematical and scientific computations.
- Simulation Workloads: Execute physics, weather, and engineering simulations.
- Financial Modeling: Run complex risk analysis and trading algorithms.
Getting Started
Requesting GPU(s) for a Virtual Machine
Below are the step-by-step guide to request one or more GPUs for your critical workloads:
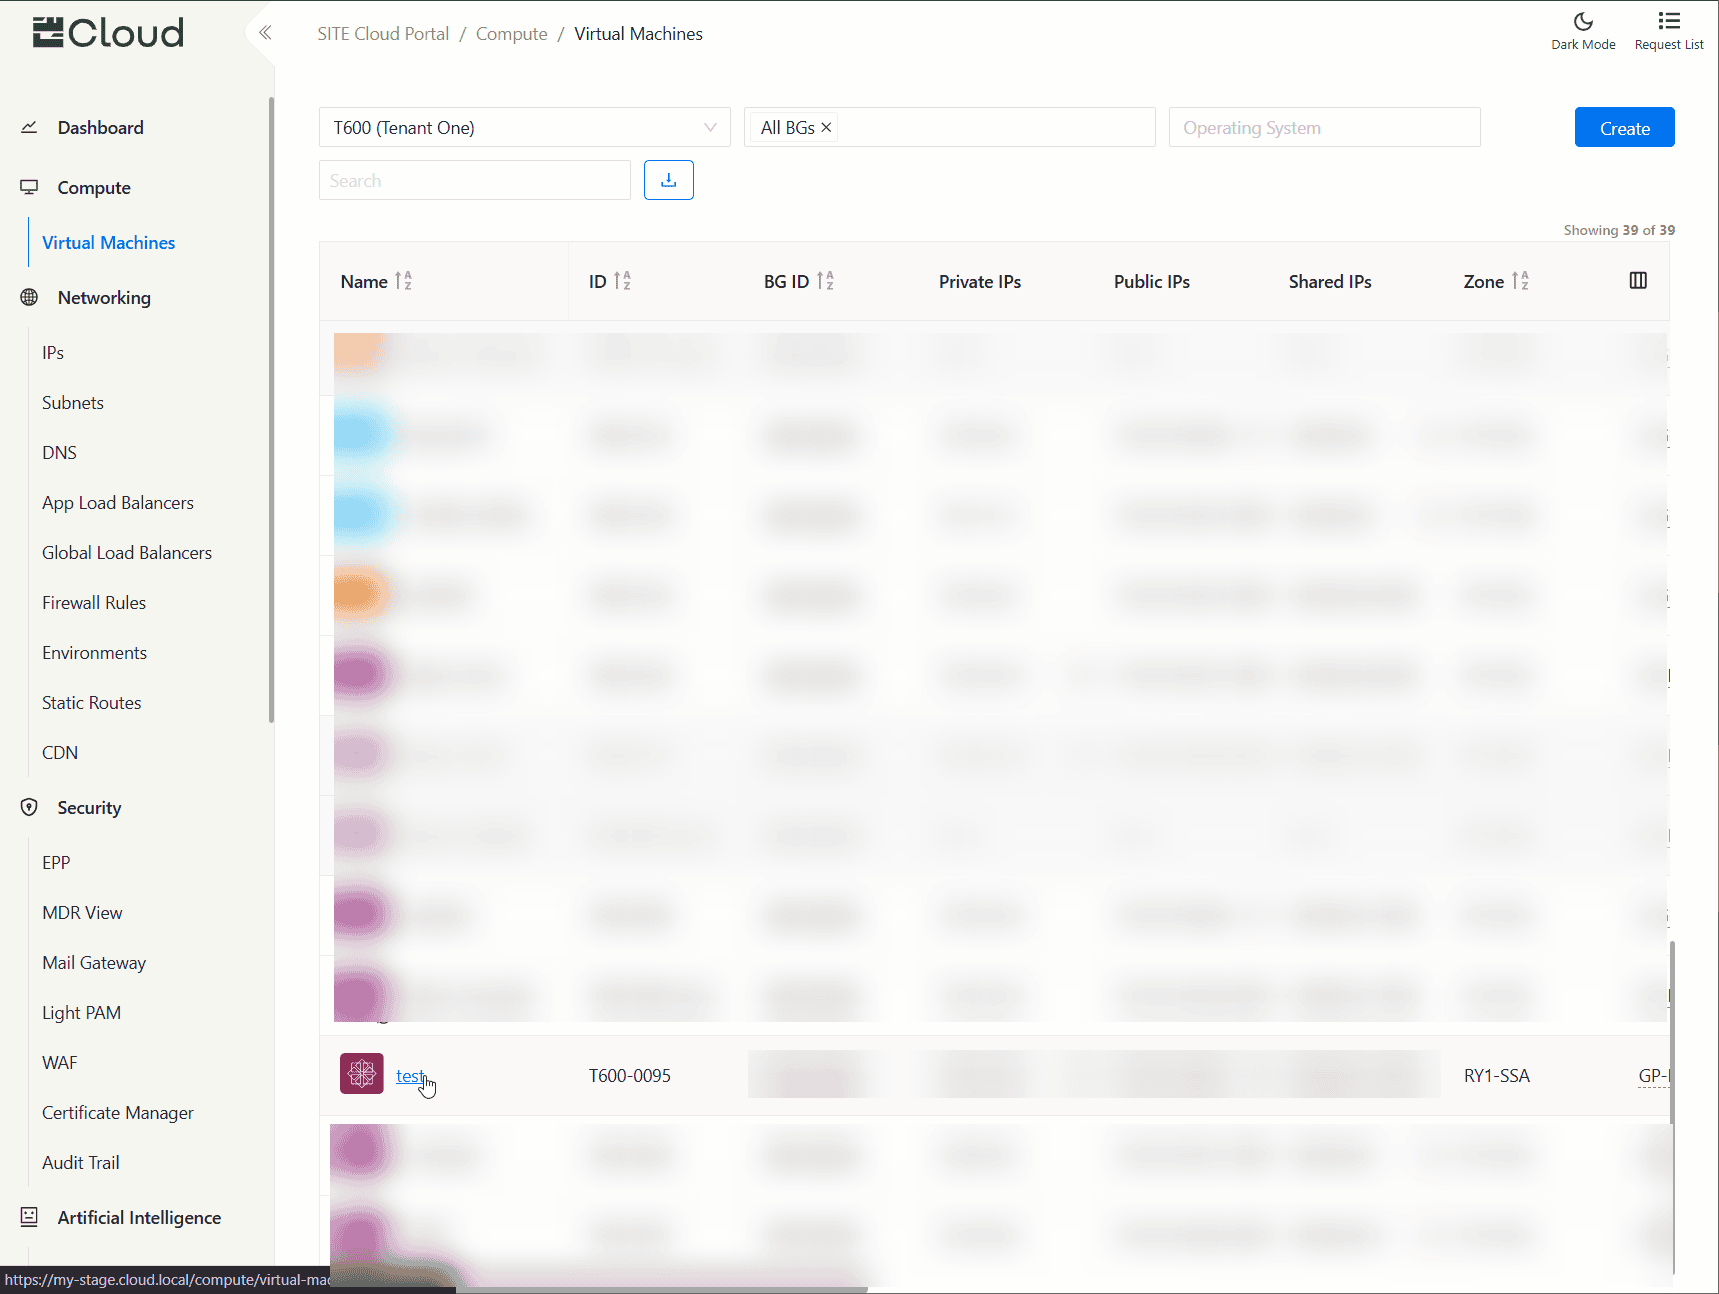
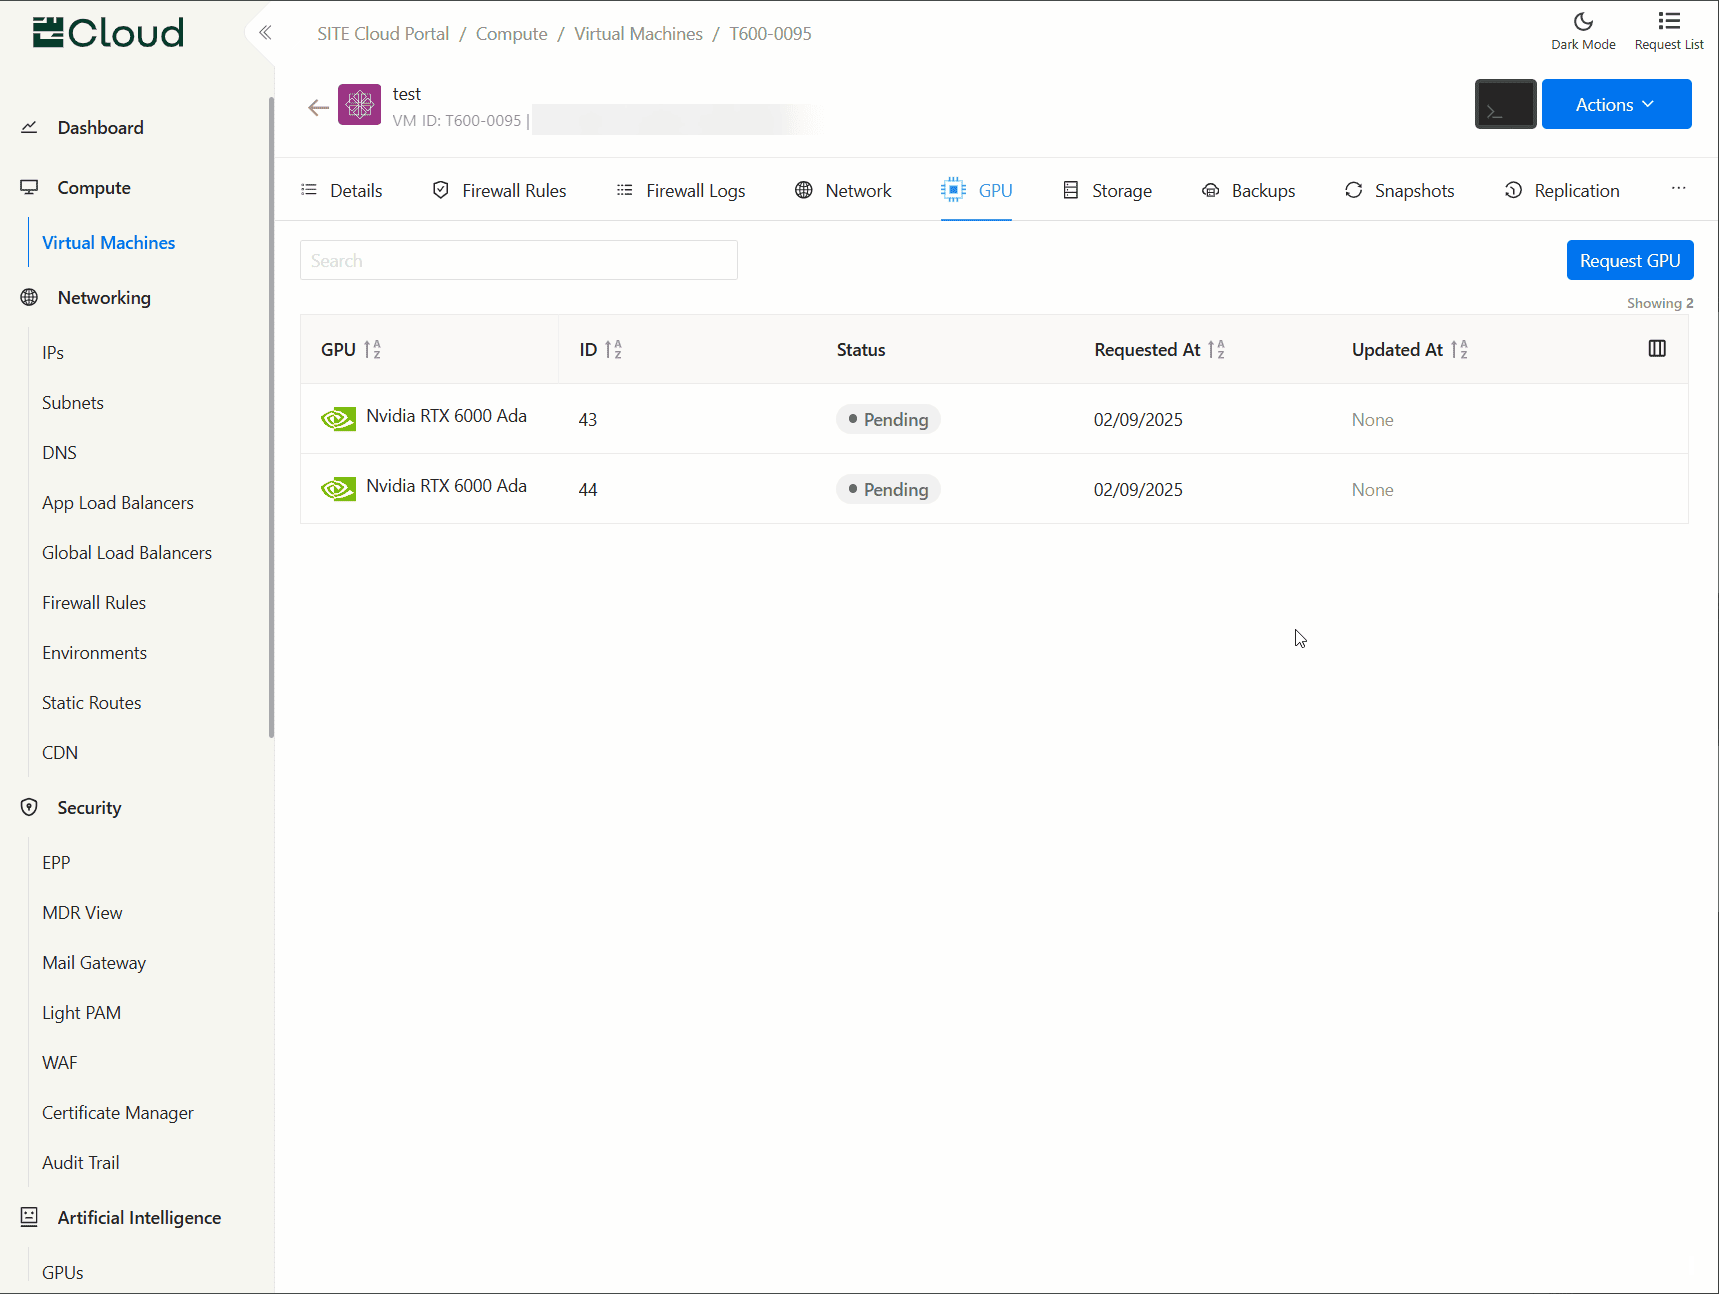
- Navigate to the Virtual Machines page using the side navigation menu.
- Click on the virtual machine you would like to request GPUs for.
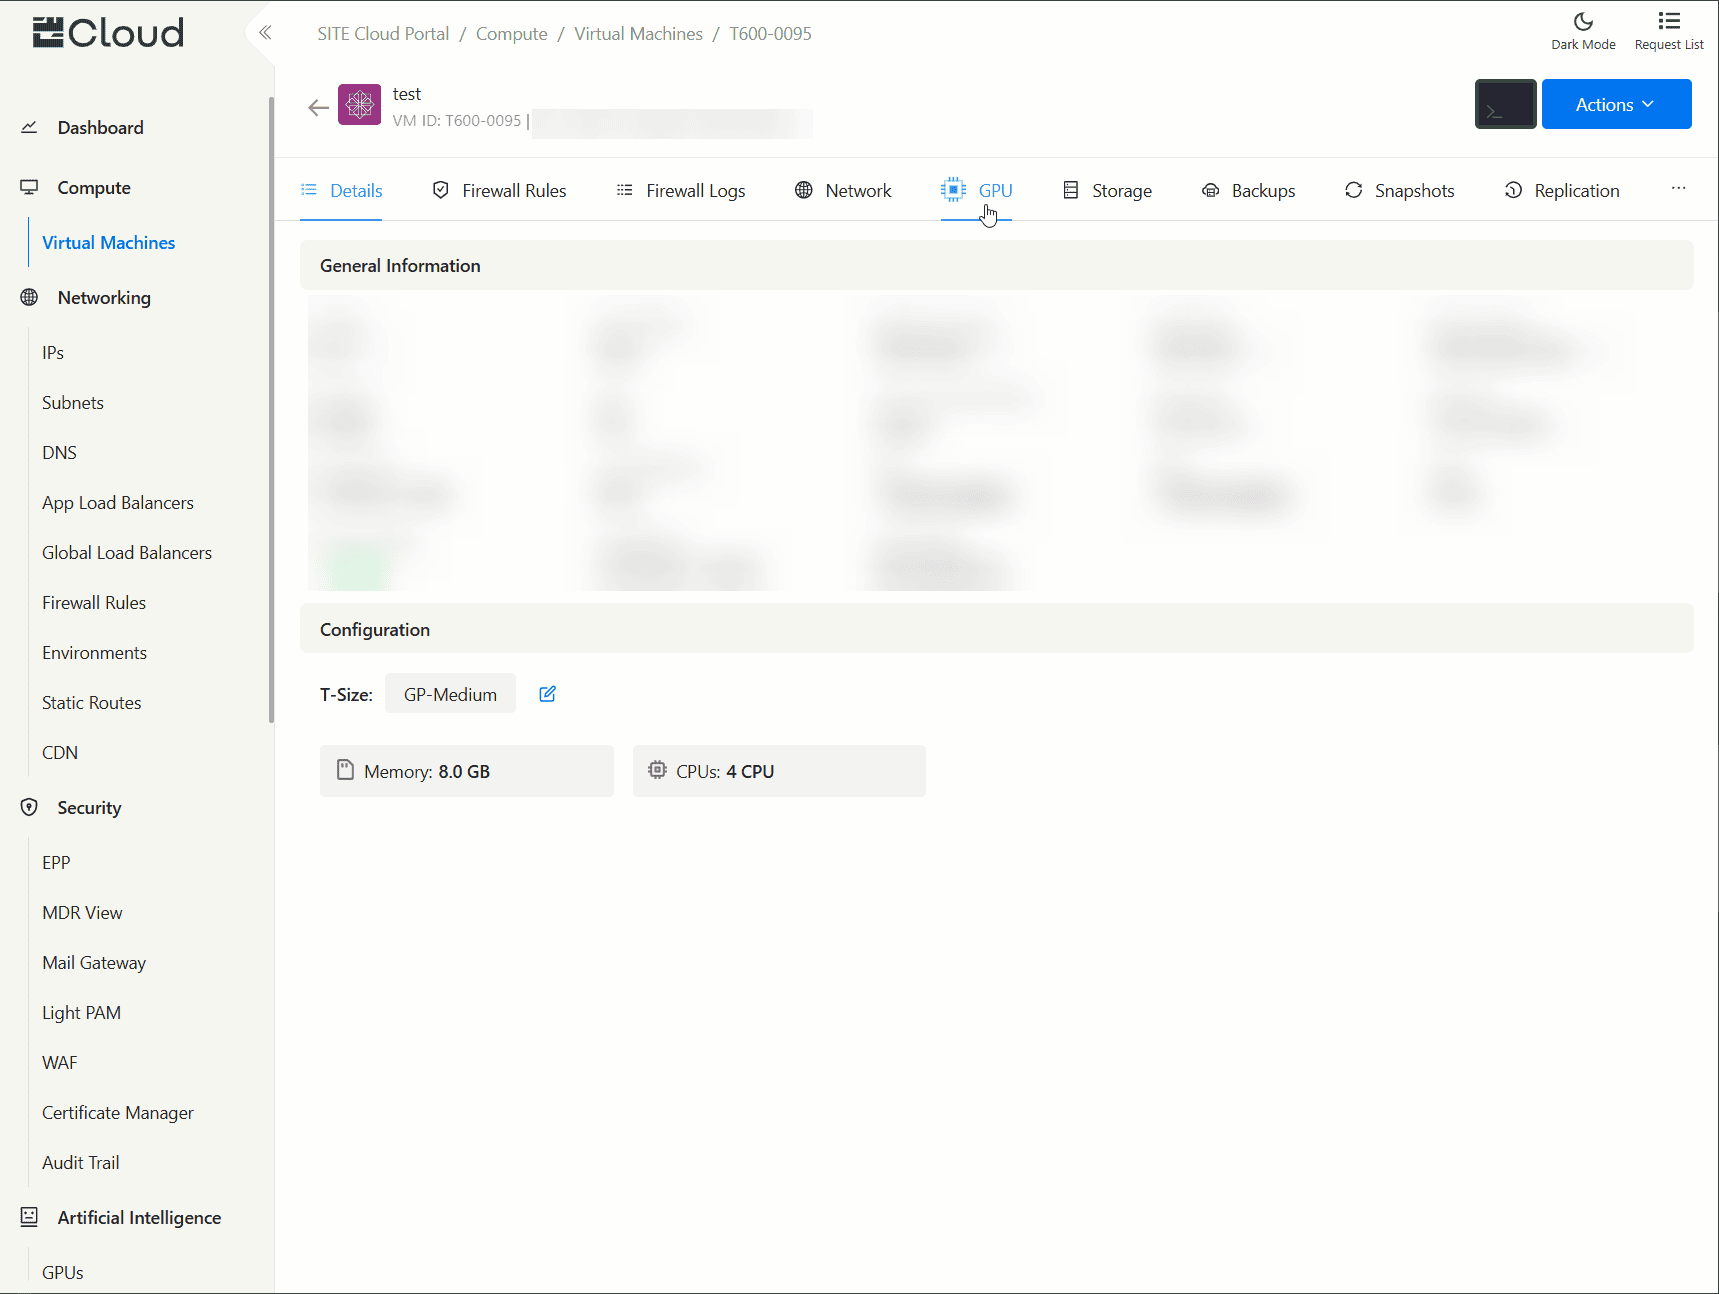
- Select GPU tab.
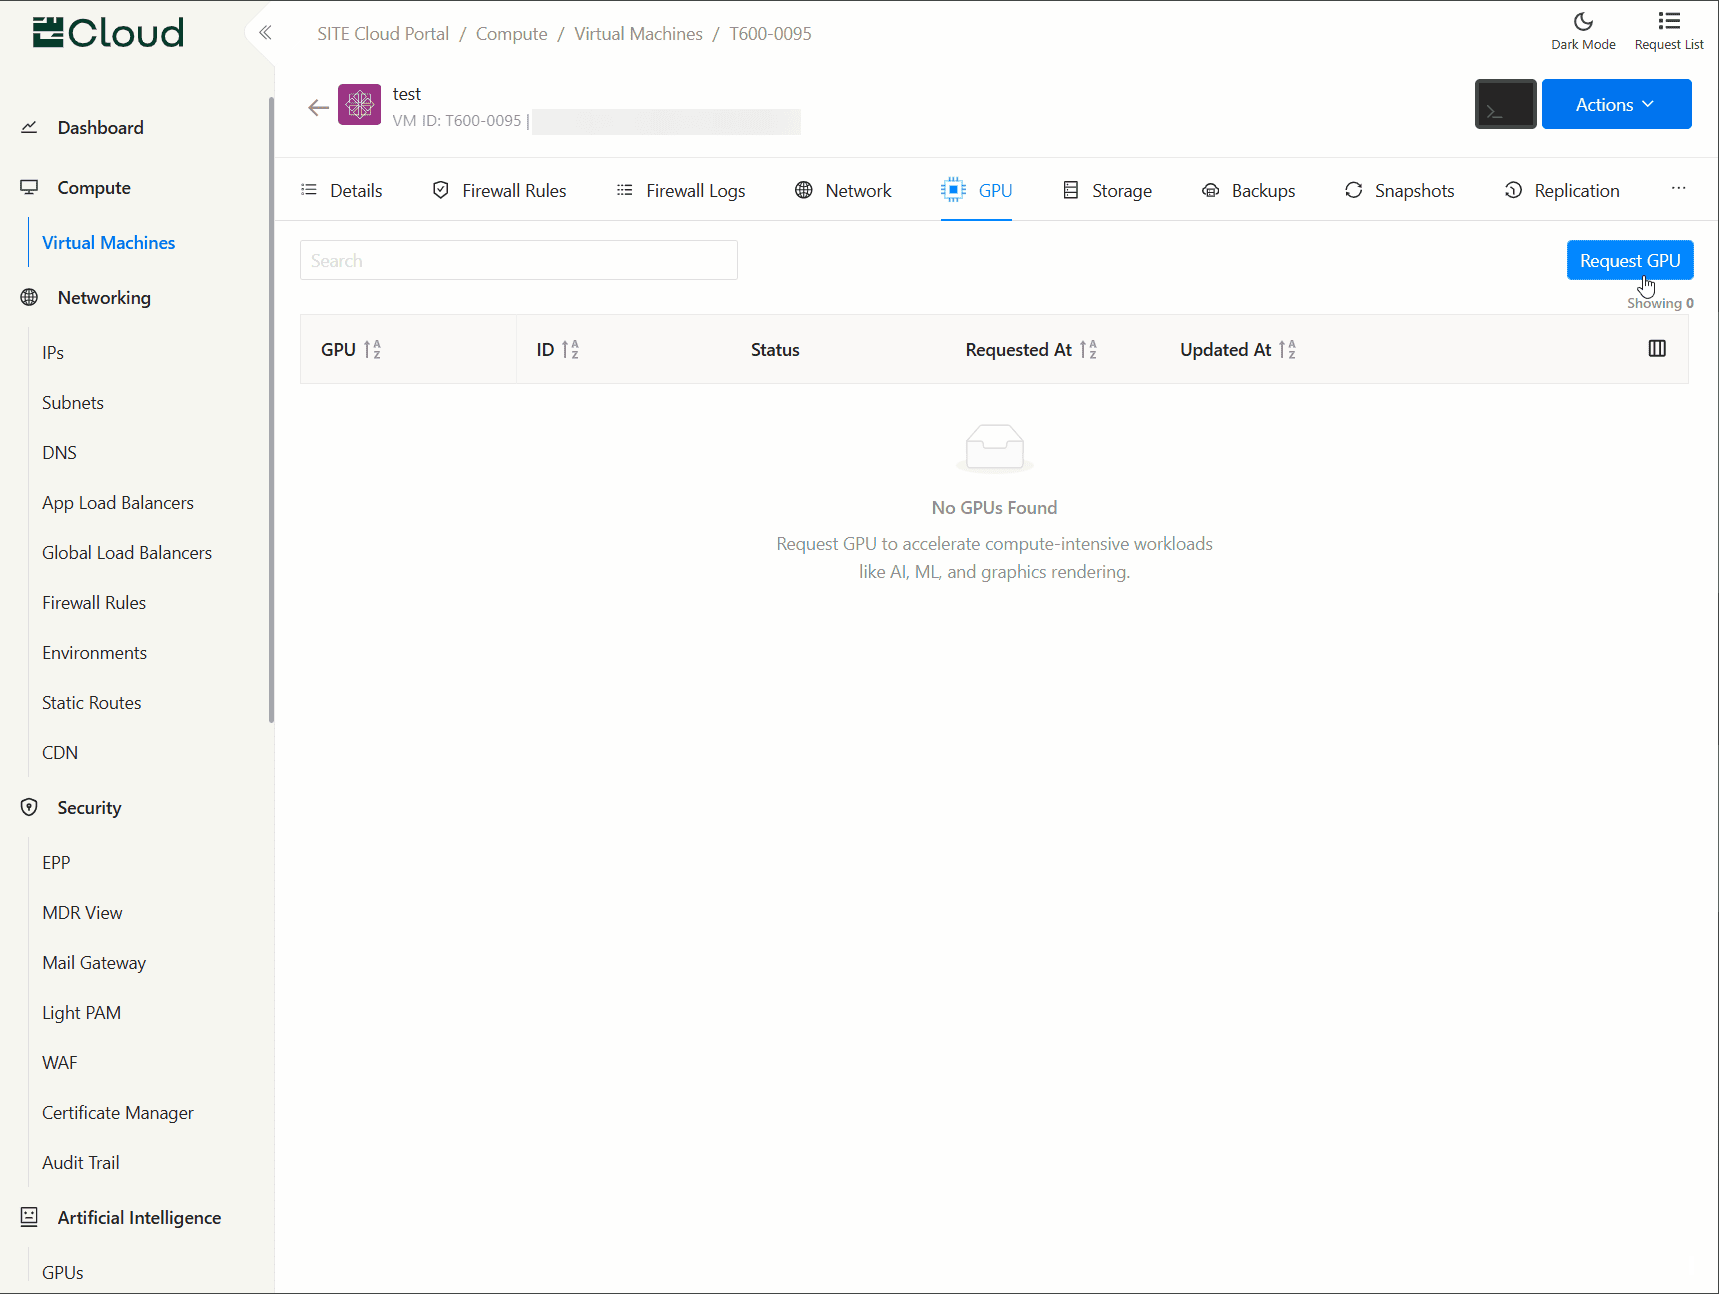
- Click on Request button to open the request form.
- Select the type of GPU and the number of GPUs.
- Click on Submit.
- A request is sent to our team through Cloud Support portal to attach the GPU, you can follow-up with the team through our platform.
Utilizing your newly configured GPU(s)
After your GPU status is shown as Active in Cloud Portal, you can start utilizing the GPU by:
- Installing the necessary drivers for your GPU. Visit Nvidia to download and install the drivers on your Virtual Machine.
- Verify that your GPUs are detected, by running the following CLI command:
nvidia-smi, it should display your configured GPUs.
Removing an existing GPU from your Virtual Machine
Given that your GPU is active and you no longer need it, and would like to remove it:
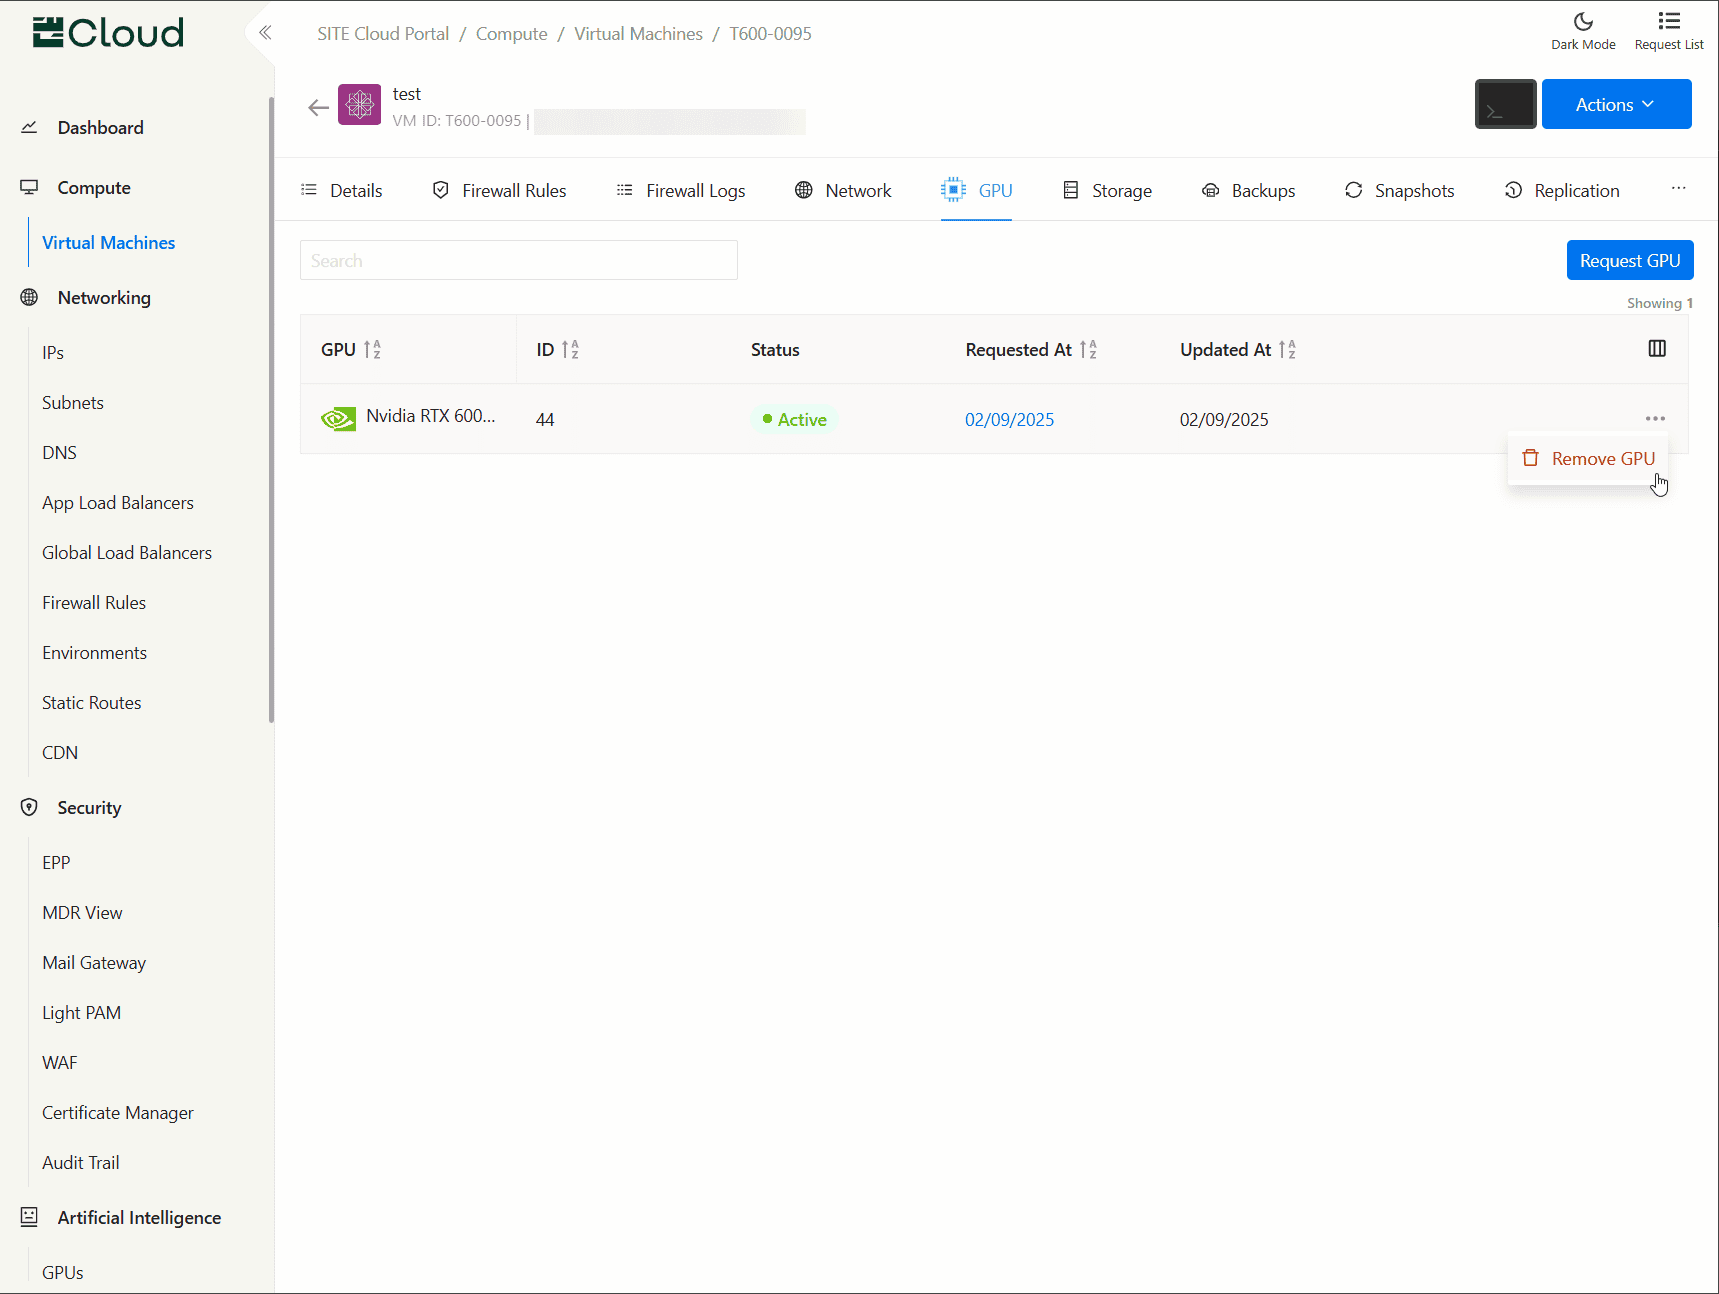
- Navigate to the Virtual Machines page using the side navigation menu.
- Click on the virtual machine you would like to remove GPUs from.
- Select GPU tab.
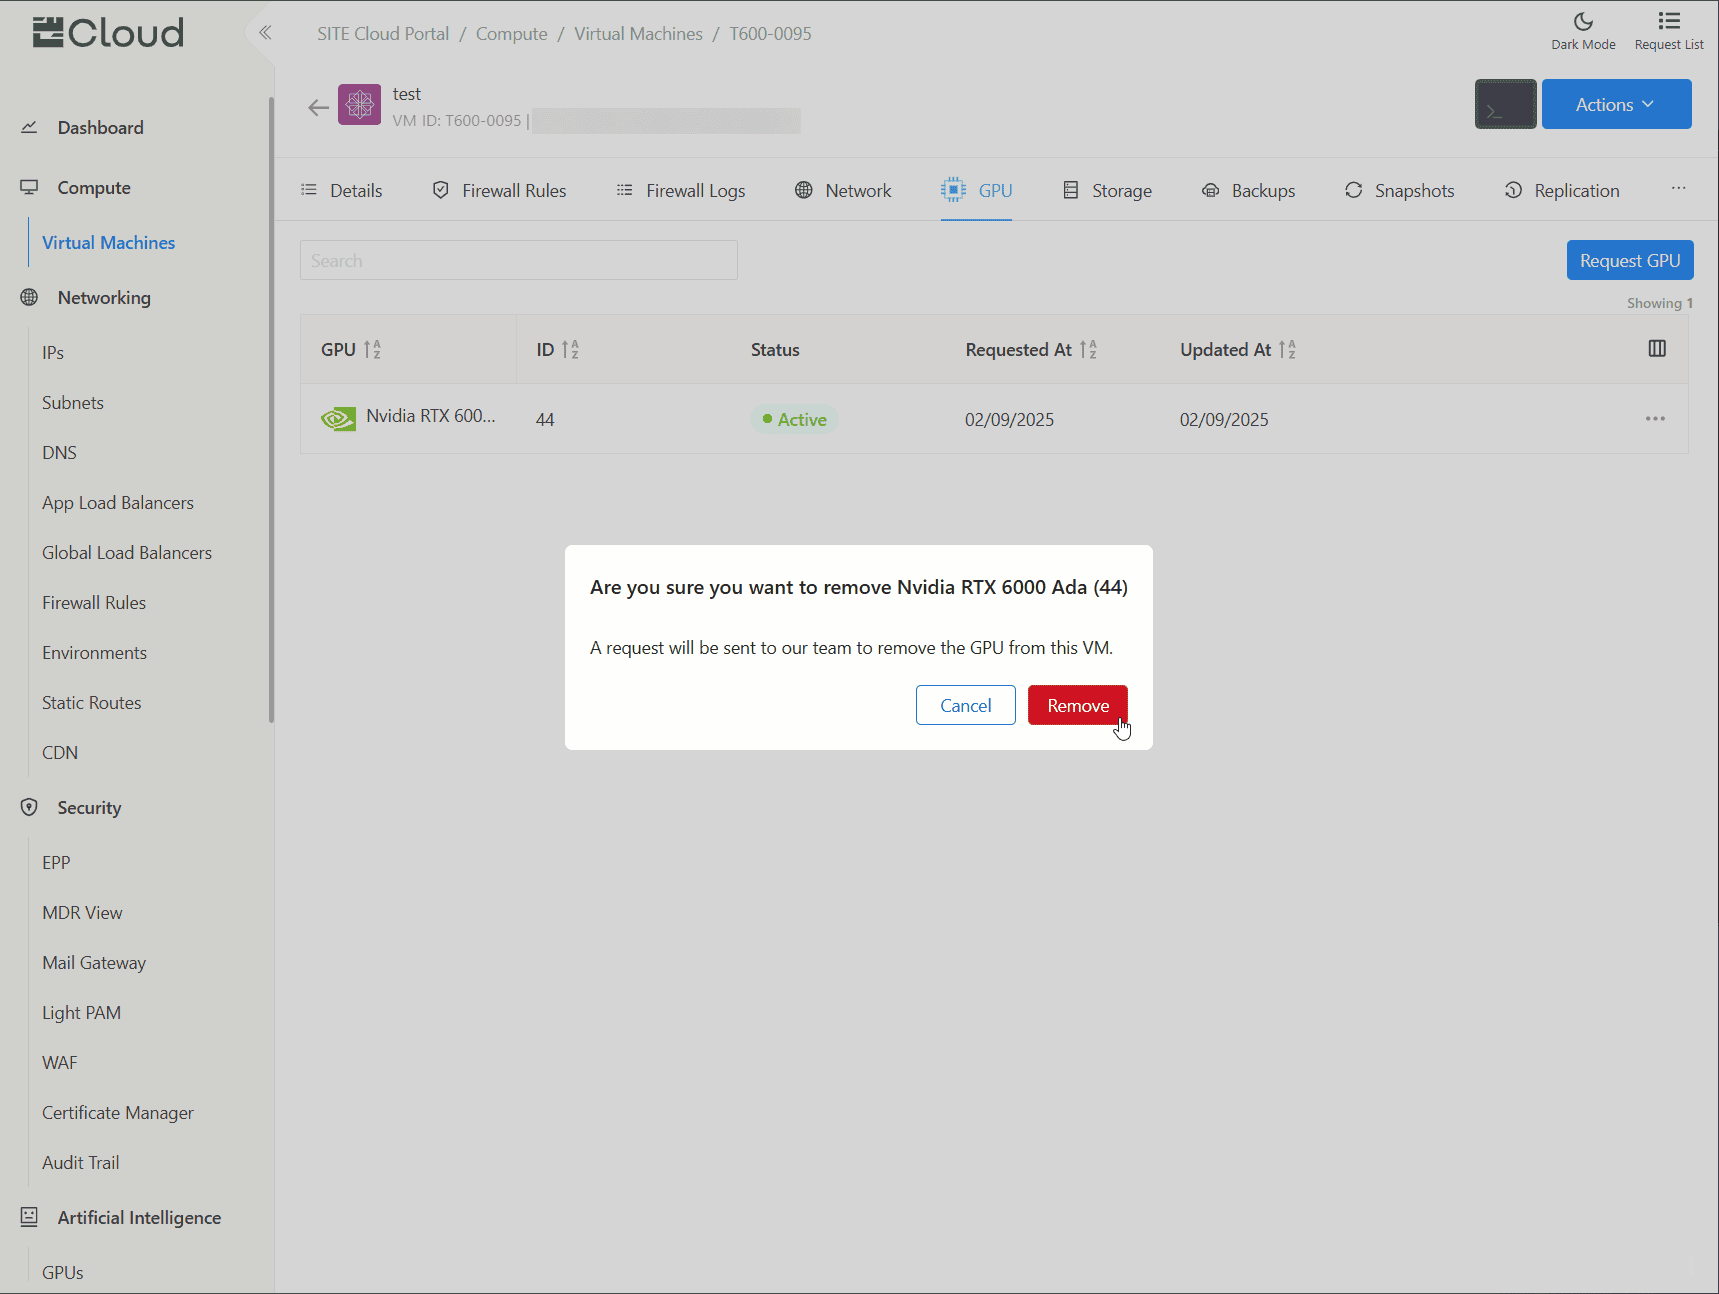
- Go over the GPU you would like to remove, click on Remove GPU from the actions dropdown menu.
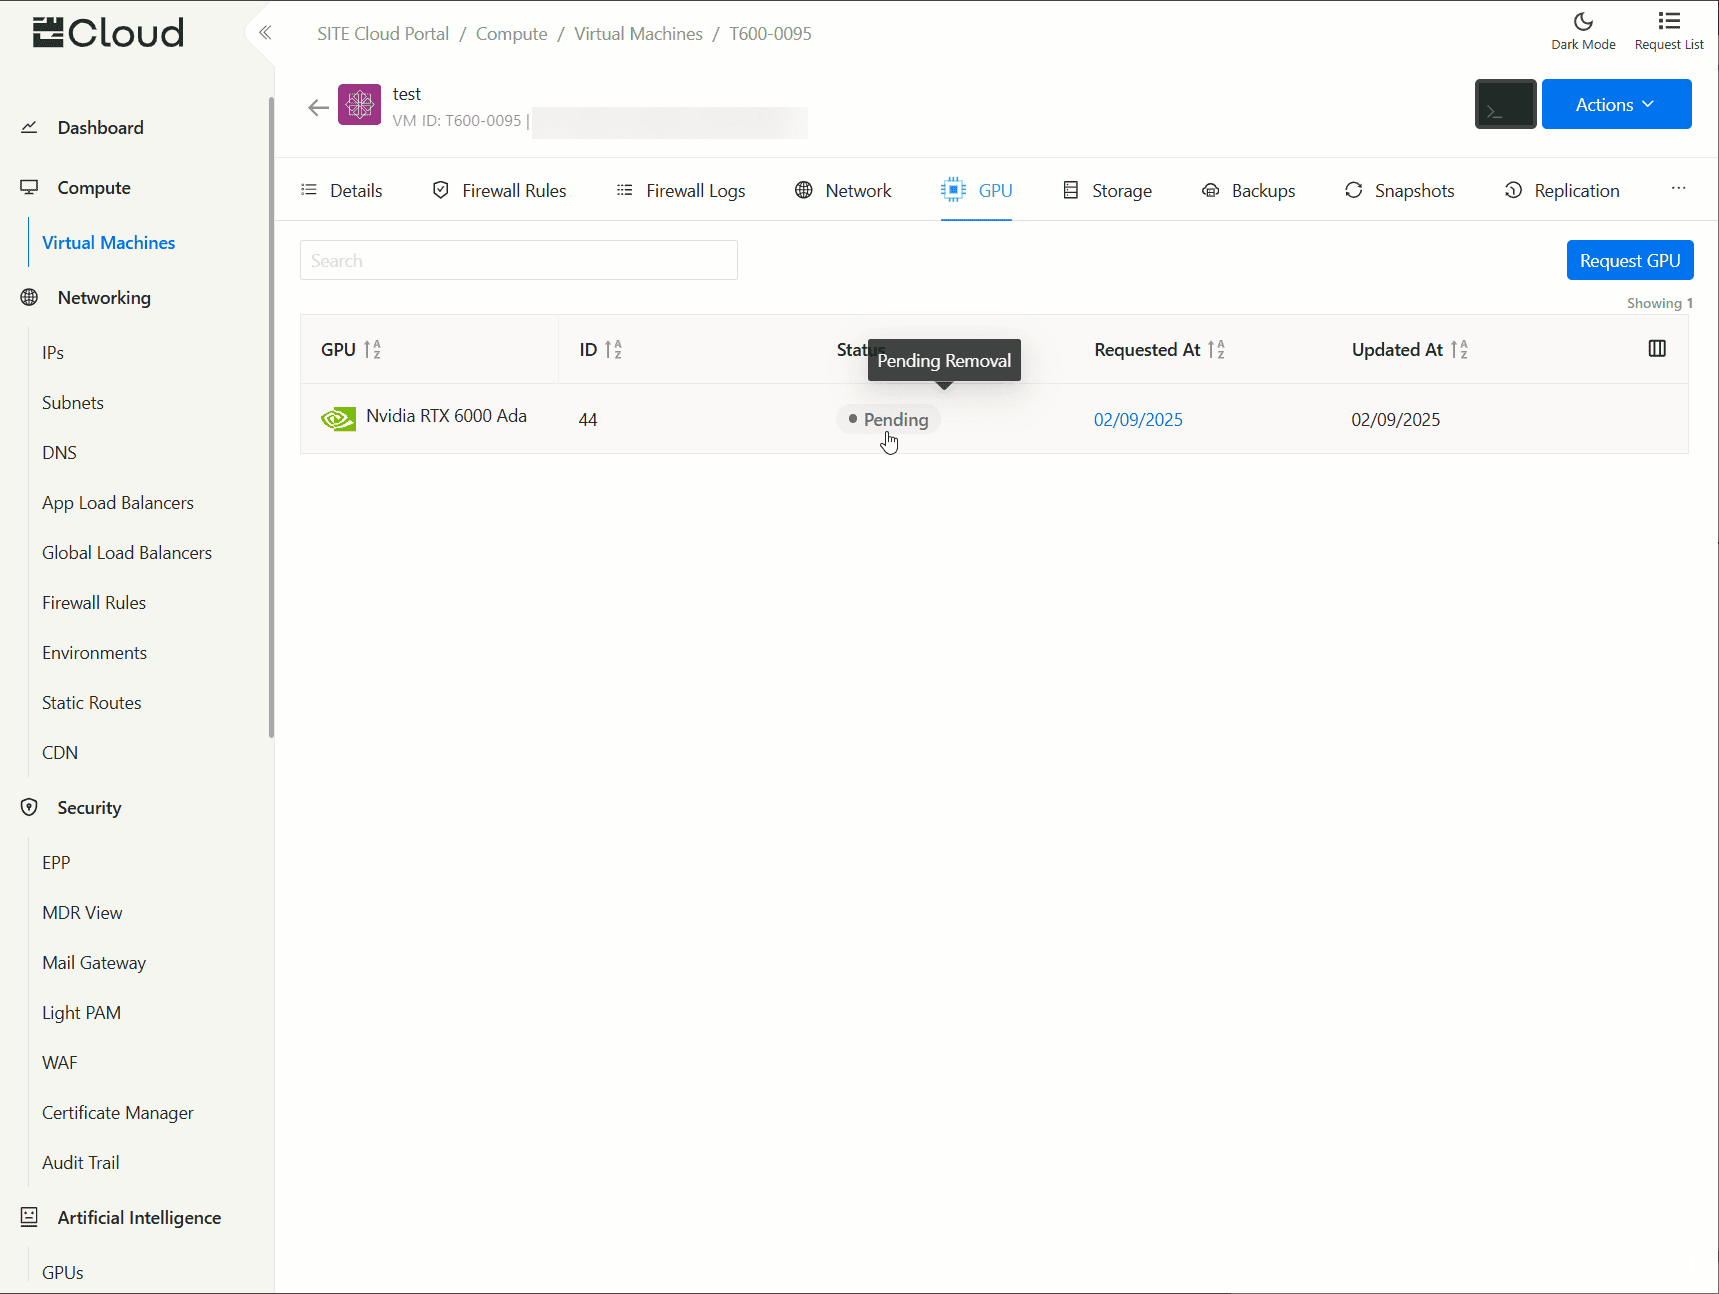
- A request is sent to our team through Cloud Support portal to remove the GPU, you can follow-up with the team through our platform.
Notes
- If the virtual machine has Backup or Replication regimes enabled, you can't request GPUs on that virtual machine.
- You can have up to 8 GPUs per virtual machine.
- You can only use a single type of GPU at a time on a virtual machine, you can't combine two different types.
- Once you have GPUs on your virtual machine, you can't enable Backups, Snapshots, nor Replication.
- GPU pricing will be added in Cloud Billing once our Cloud Operations team activate the GPU on your virtual machine.
- GPU pricing will be stopped in Cloud Billing once our Cloud Operations team confirms the removal of the GPU from your virtual machine.
- The virtual machine with the GPU can only be deleted once GPUs are successfully removed.