


SITE Share Manual
Fileshare is a Secure platform which end-users are able to share important files between other users or groups, where each user will have its own personal storage to manage freely. There're Multiple features the End-user can use to Share their data to other users, whether the recipients are from inside the firm or out.
This guide will take you to understand how can the End-user utilize each feature there's to be able to use the platform to its fullest.
Disclaimers
SITE deploys the file share service with industry-leading known security mechanisms. The client and all of its users acknowledge and understand that File Share service (“the Service” or “the Platform”) is accessible from the Internet as is, with all the inherent risks. SITE makes no warranty that any information, software, files, or other materials uploaded to and downloaded from File Share are free from viruses, Trojan horses, or other harmful components. End-users must encrypt and password-protect files classified as SECRET and TOP SECRET on their local devices before uploading them to file-sharing services, in compliance with the National Cybersecurity Authority (NCA) National Cybersecurity Strategy (NCS) guidelines. password for encrypted files should be shared with the recipient through a separate communication channel—such as sending the file link via email and the password via SMS. SITE shall not be liable for any security breaches, data loss, damage, or compromise of data resulting from users’ failure to adequately encrypt files or to take any other required security measures. By using our file share service, the clients and all of its users acknowledge and agree to assume all the risks inherent in the public use of a file share service.
Get started
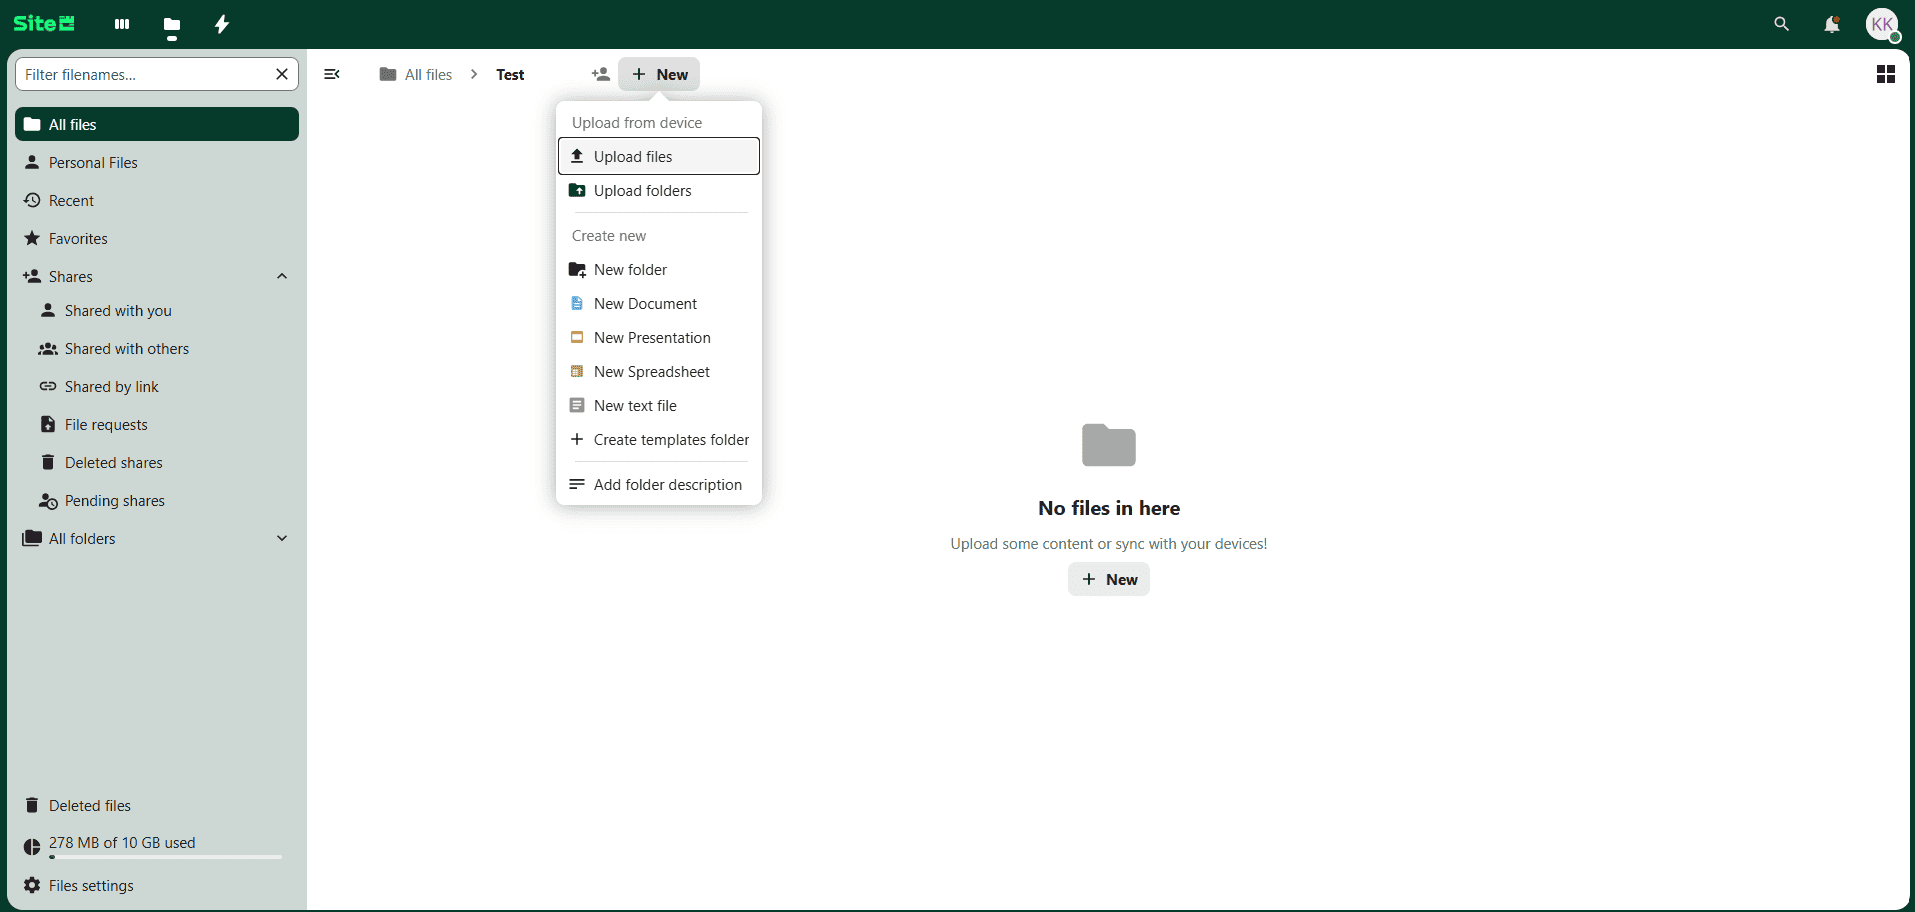
End-user should first start by clicking on the Plus symbol "+", the end-user will be presented with multiple options:
- Upload Files
- Upload Folders
- New Folder
- New Document
- New Presentation
- New Spreadsheet
- New Text File
To organize the end-user's files and make them more secure & easier to manage, Folders are very important in this matter.
1. Upload Files and Upload Folders:
- Upload the file/folder directly by accessing it from your device.
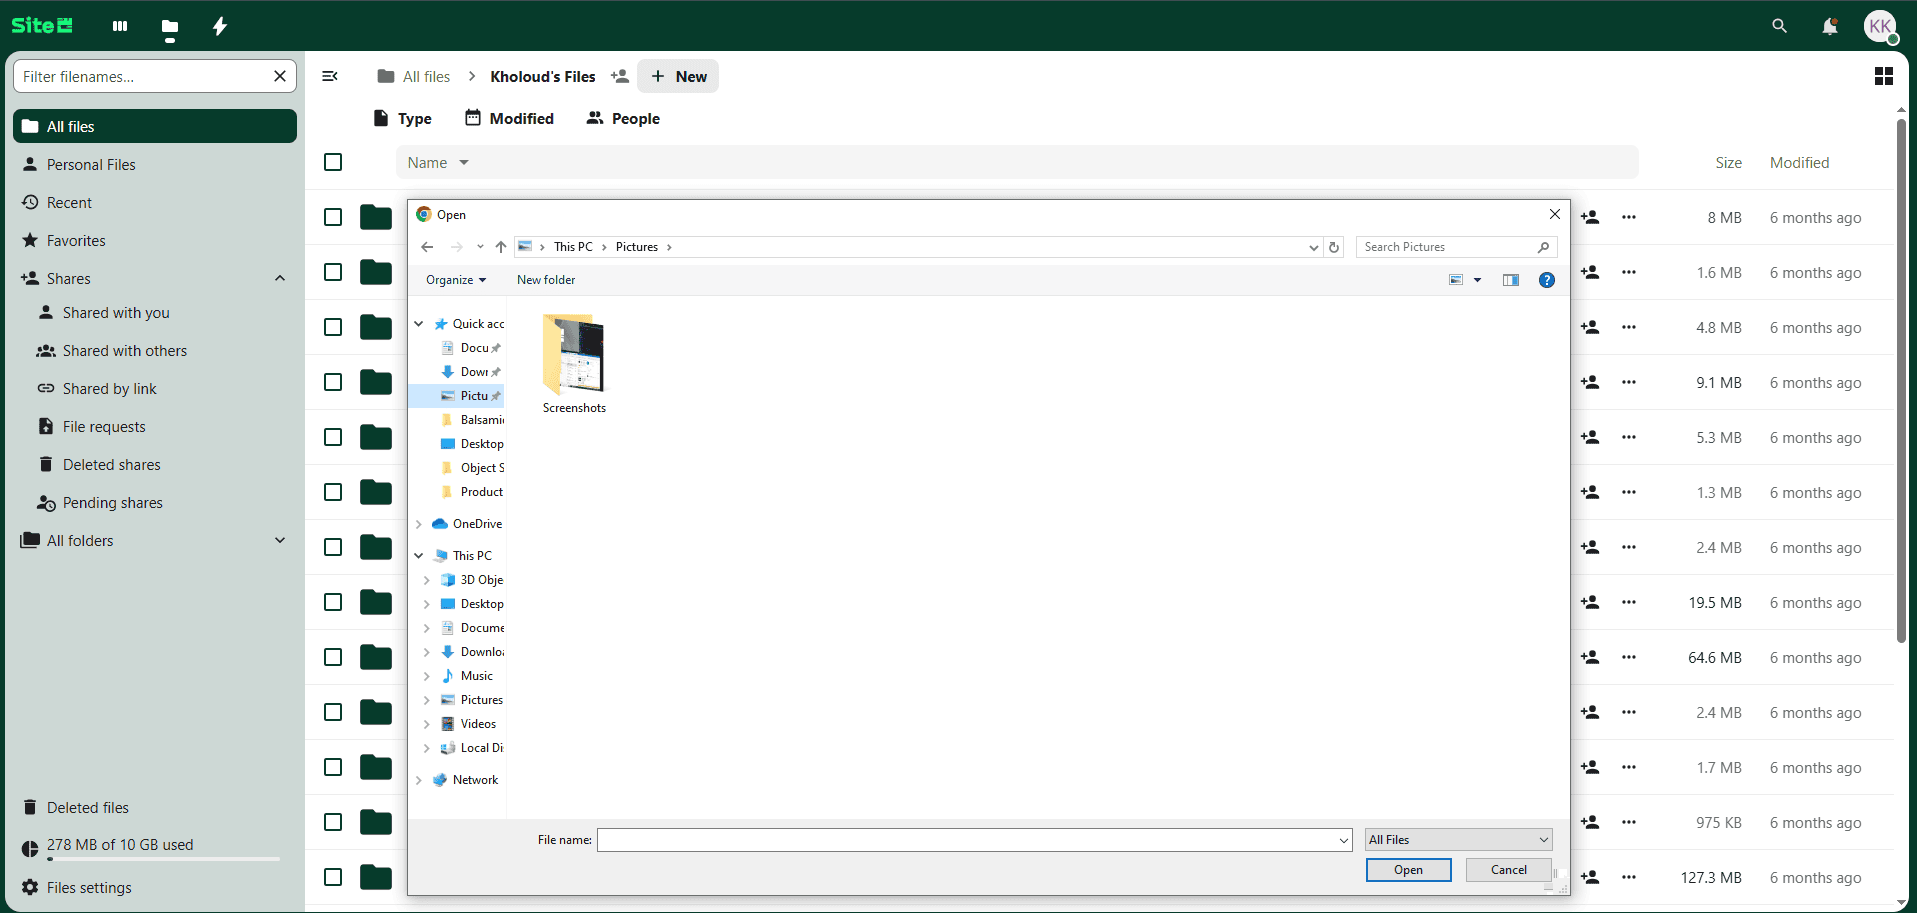
- Drag and drop is supported for files only.

2. New Folder
- Allows you to create a new folder

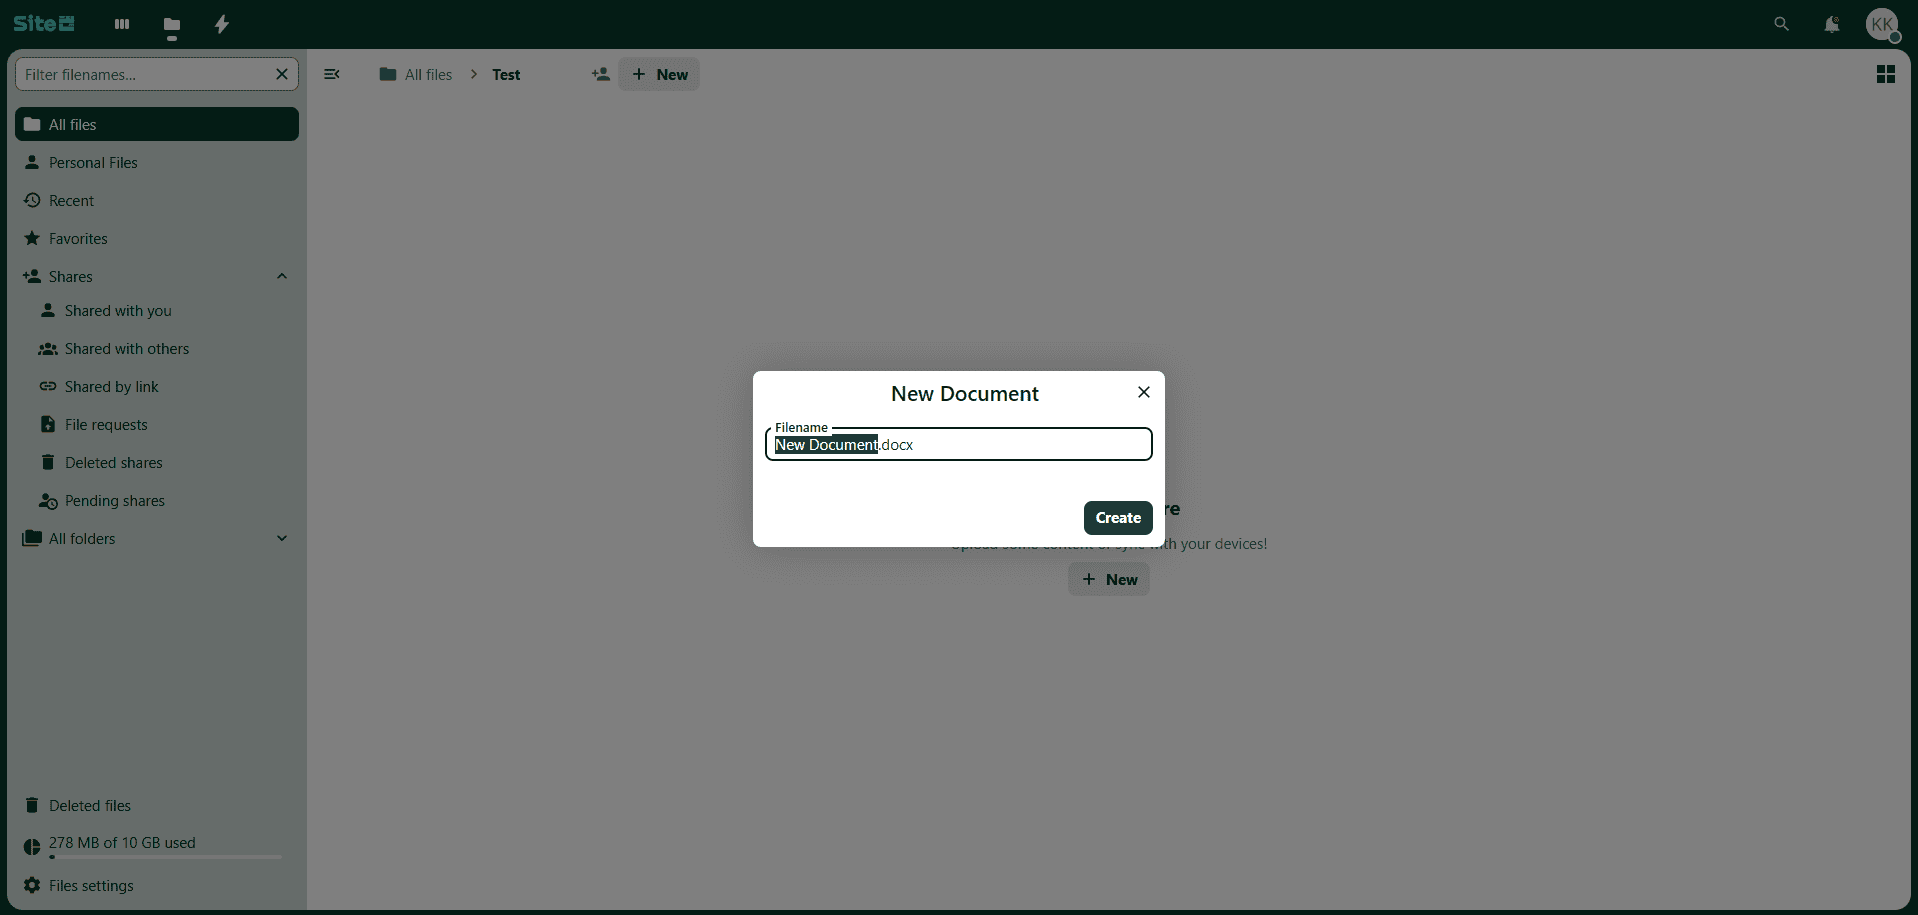
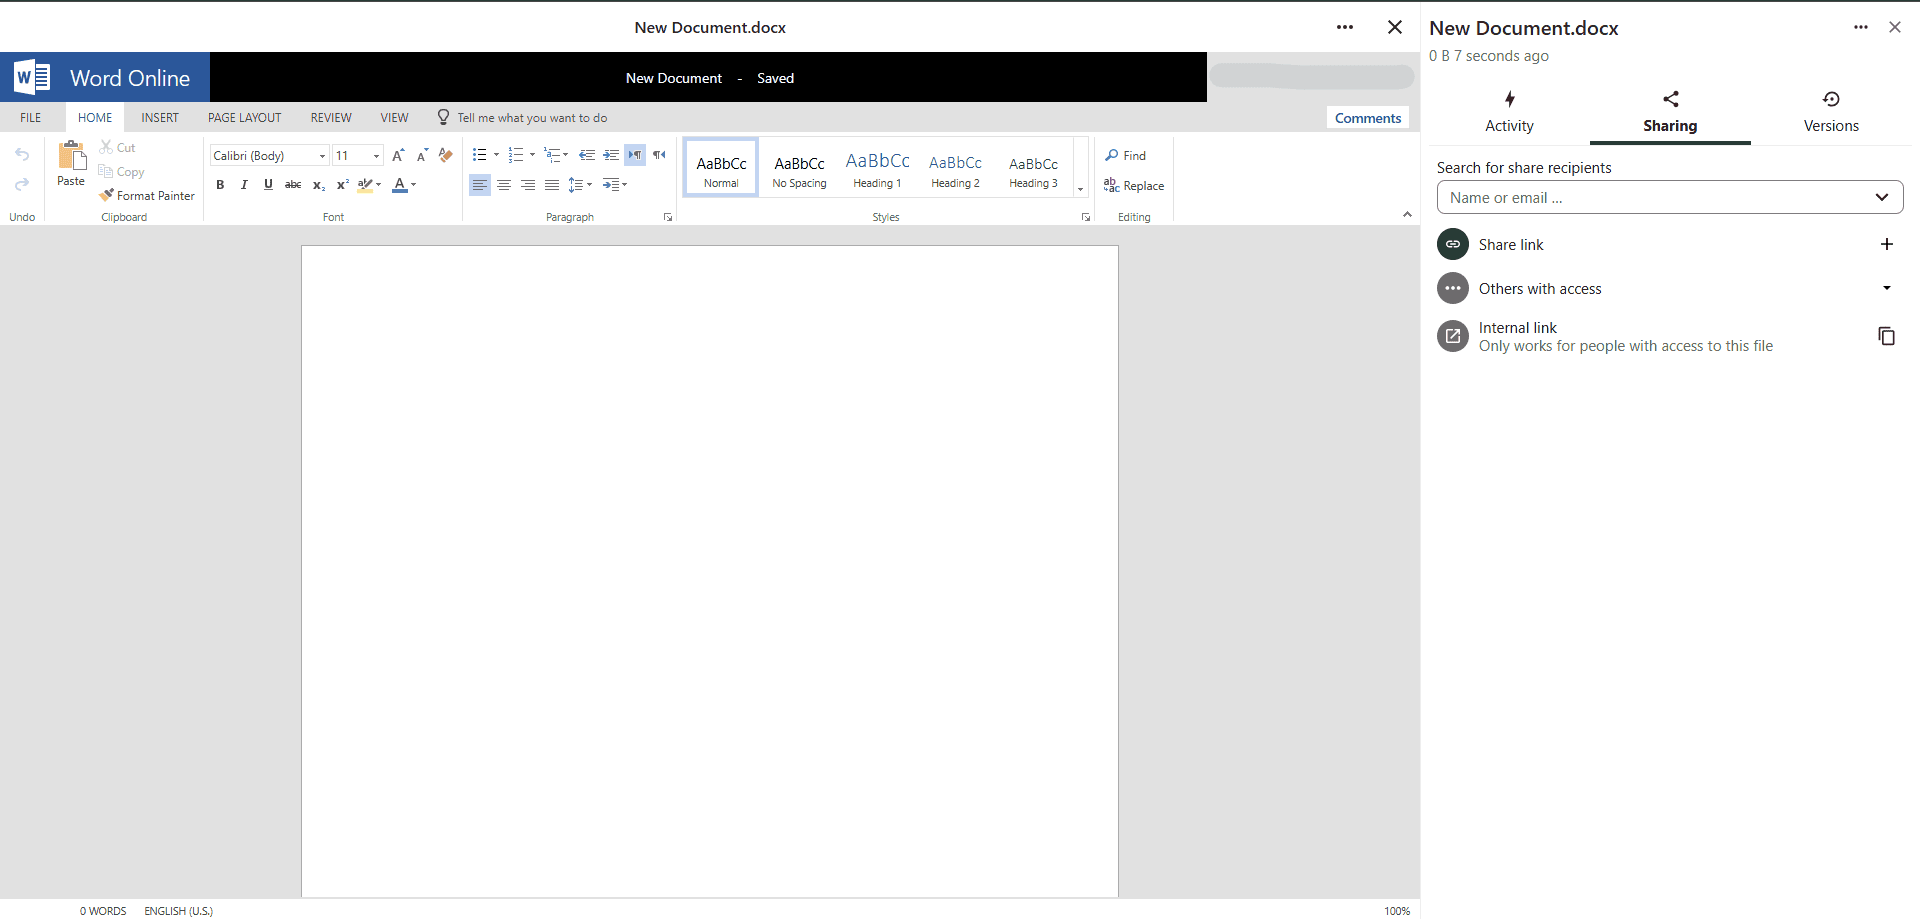
3. New Document
- Allows you to create a new Word document and edit it directly through Fileshare.
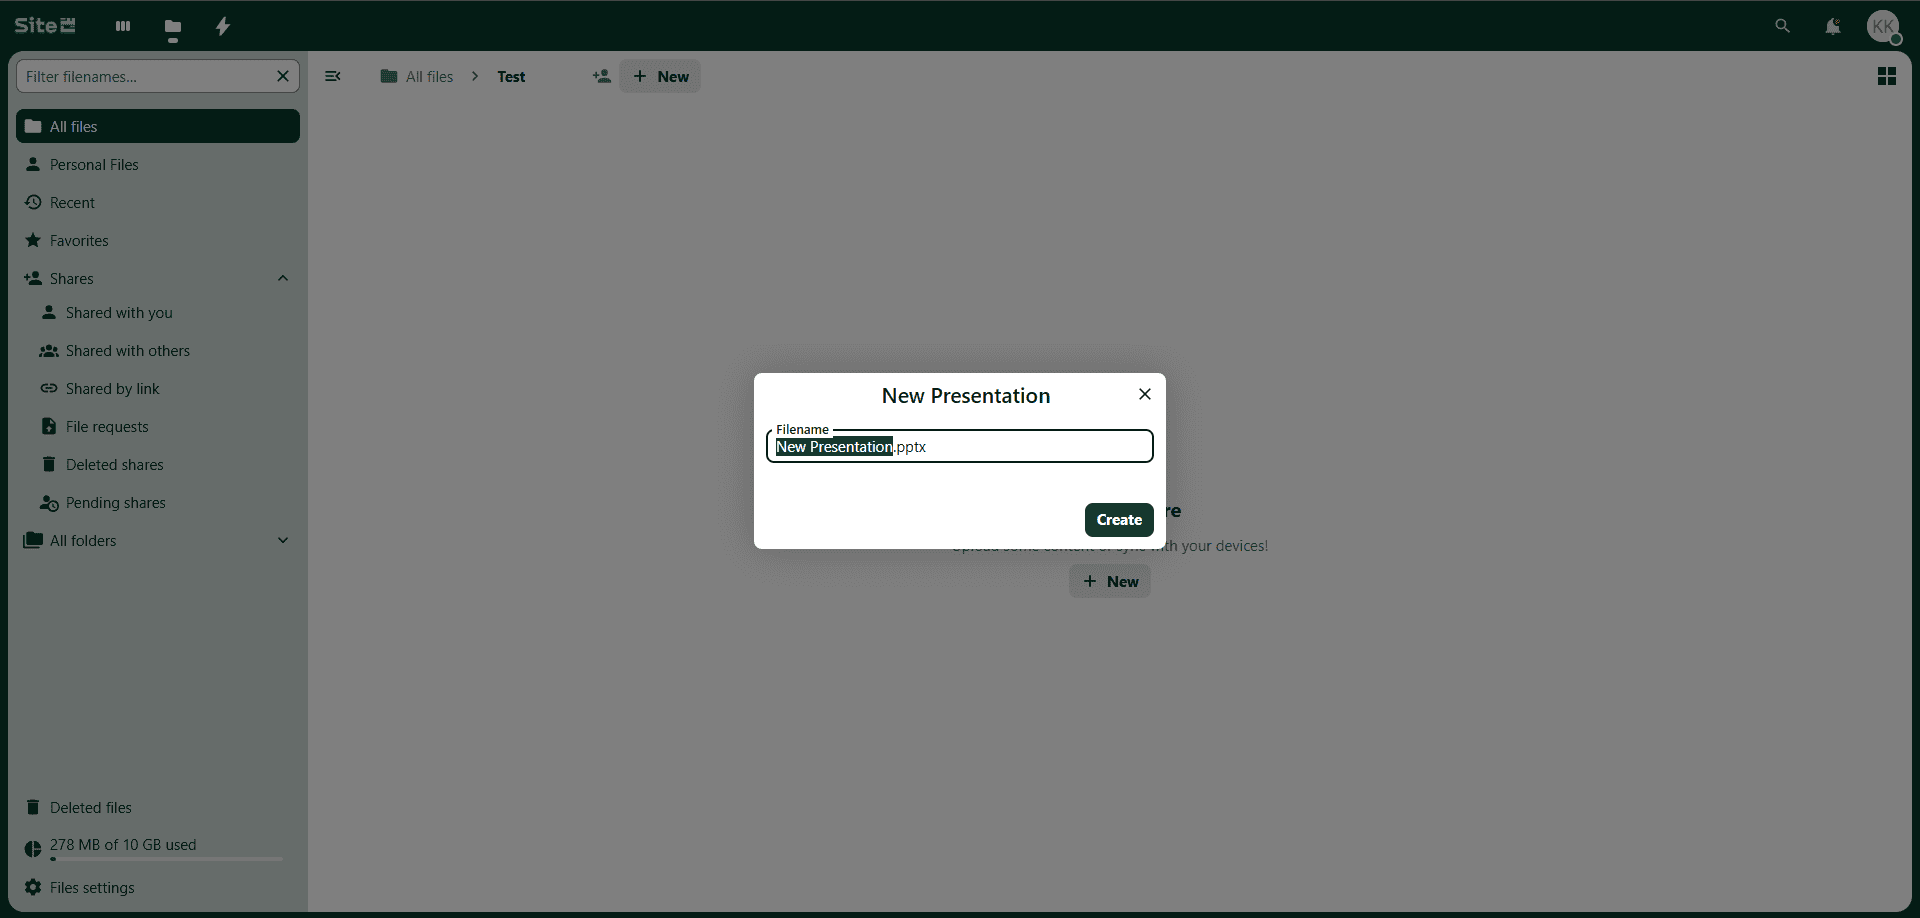
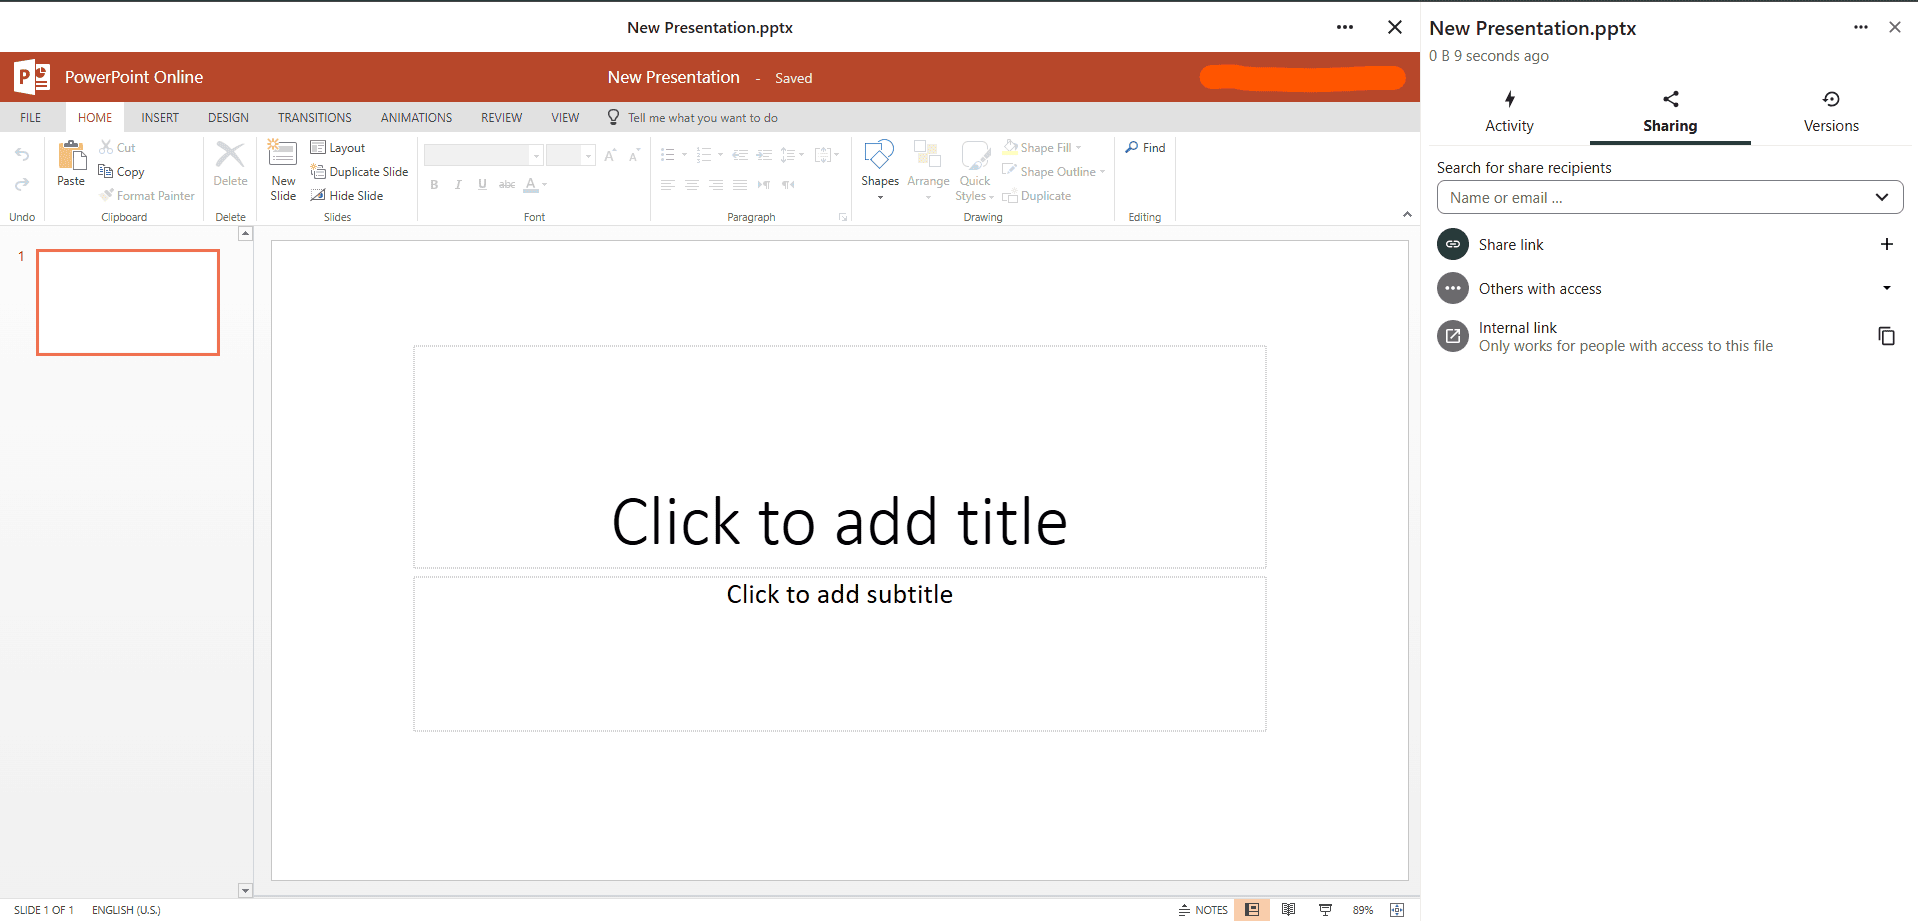
4. New Presentation
- Enables you to create and edit PowerPoint presentations within Fileshare.
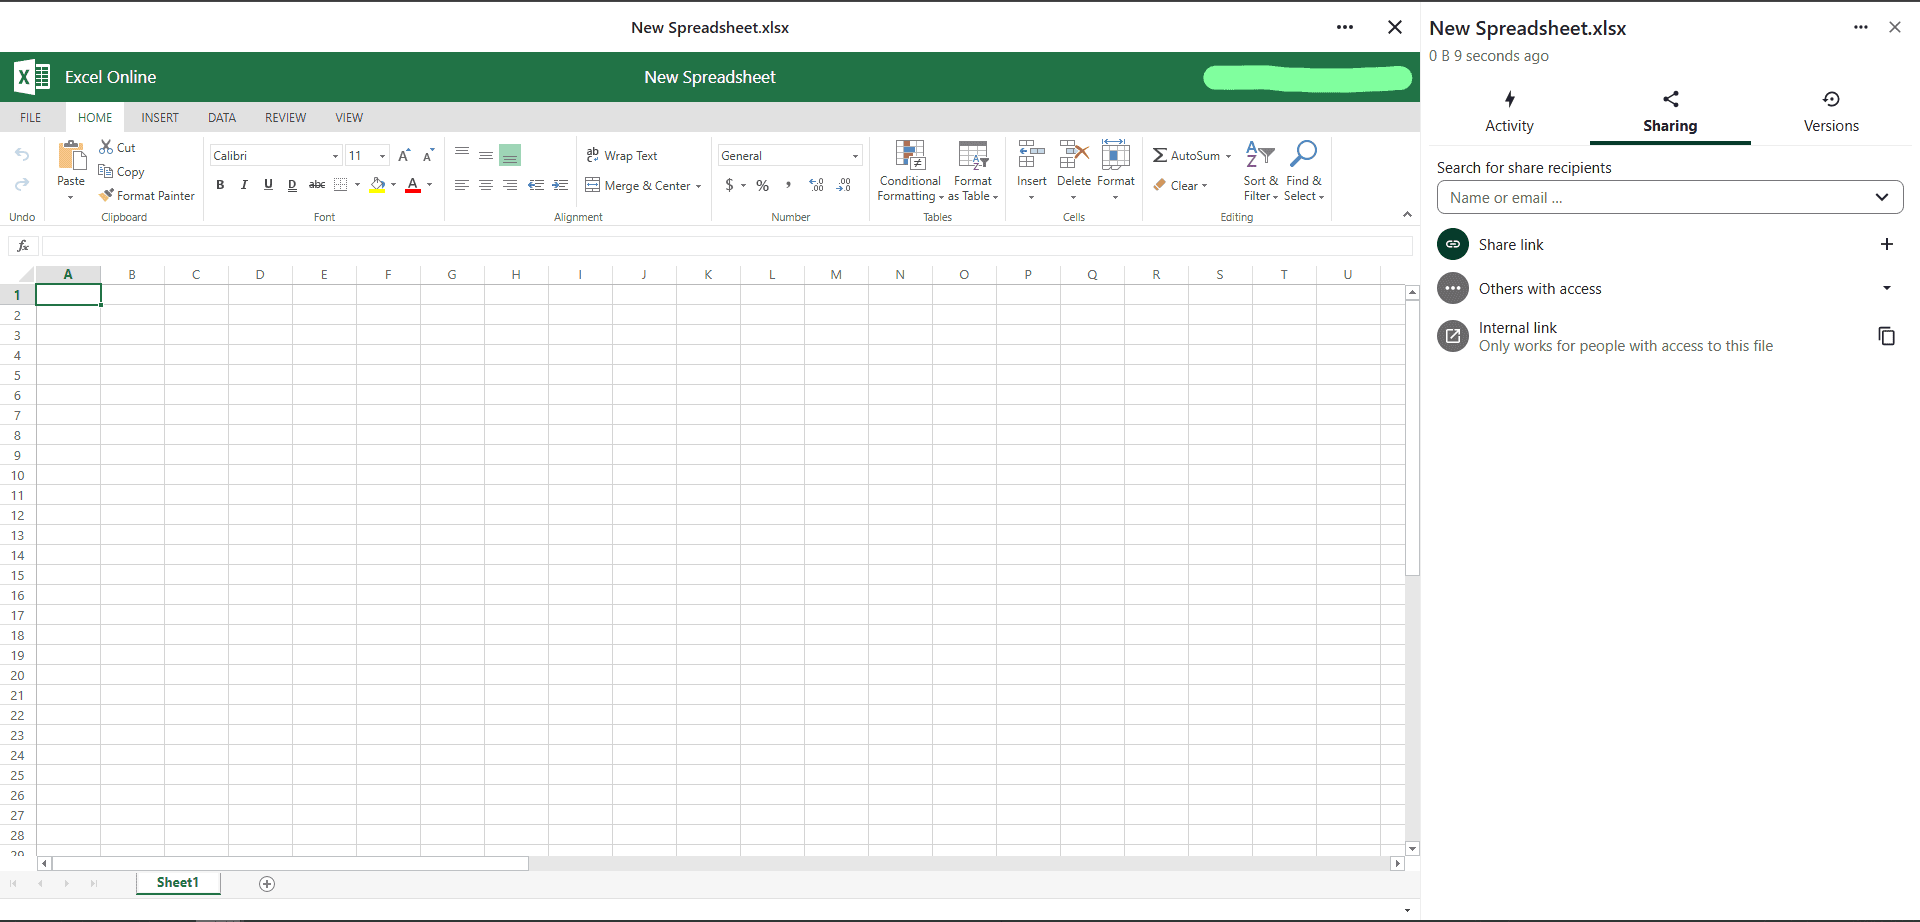
5. New Spreadsheet
- Enables the creation and editing of Excel spreadsheets within Fileshare.

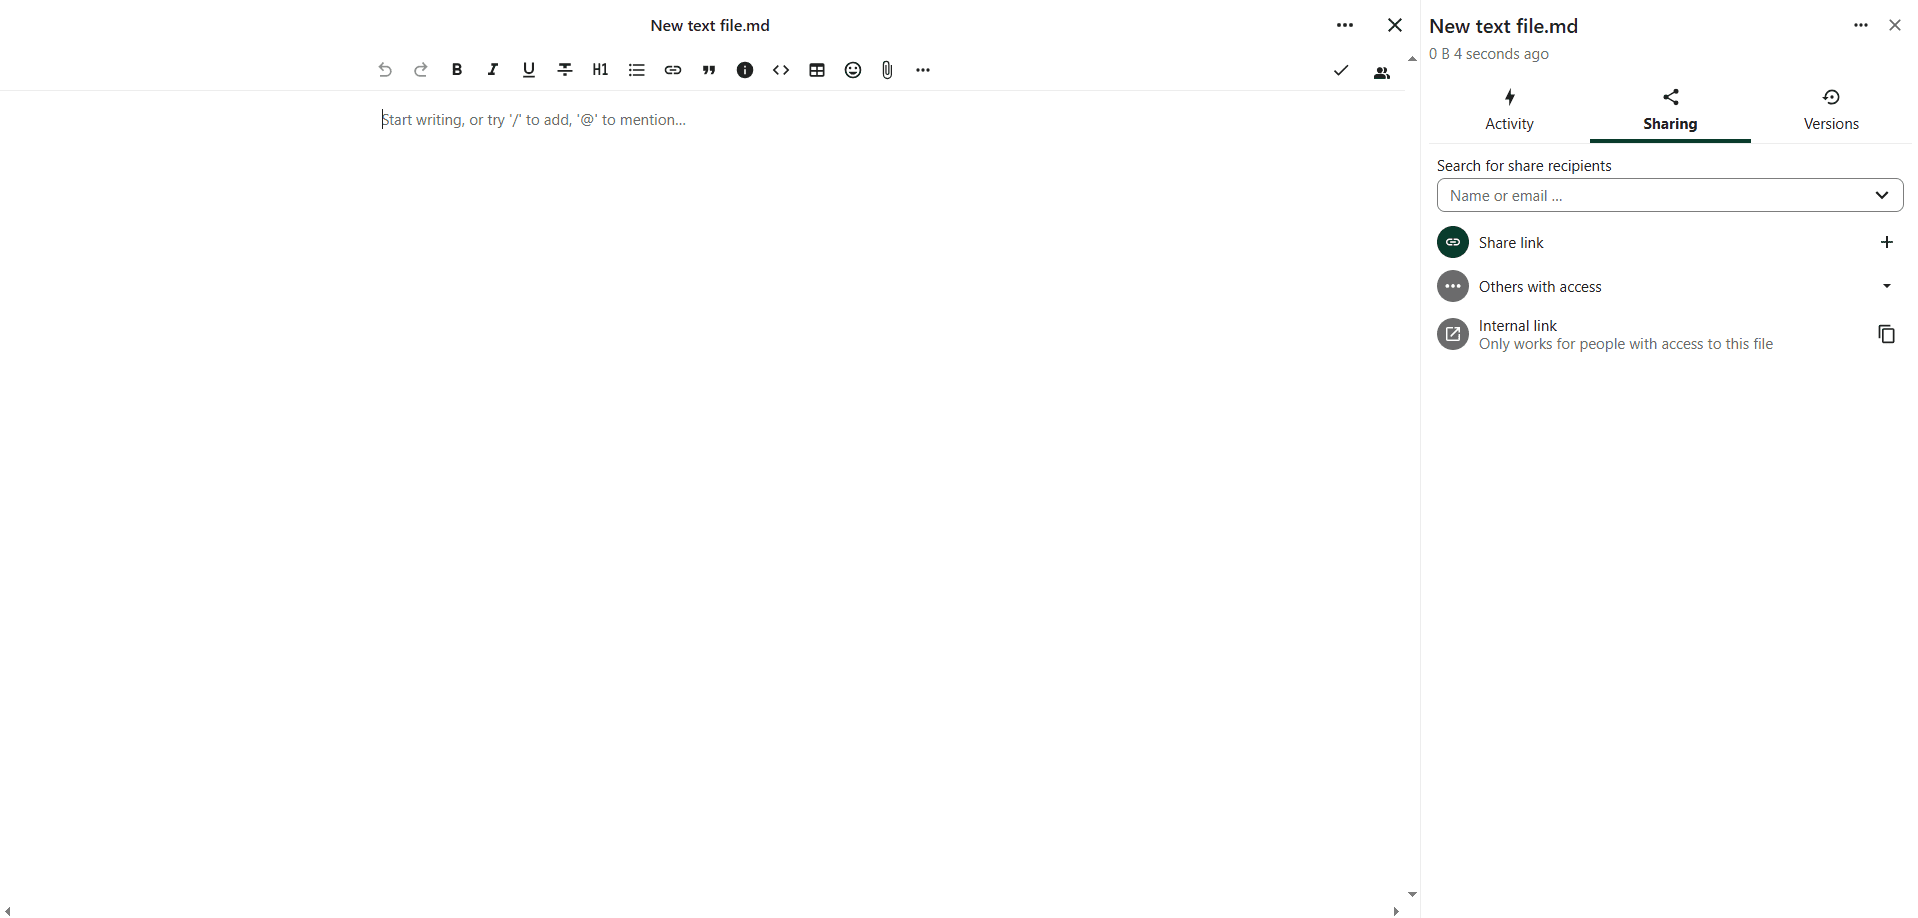
6. Text file
- Enables the creation and editing of text files within Fileshare.

Note: End-users must encrypt and password-protect files classified as SECRET and TOP SECRET on their local devices before uploading them to file-sharing services.
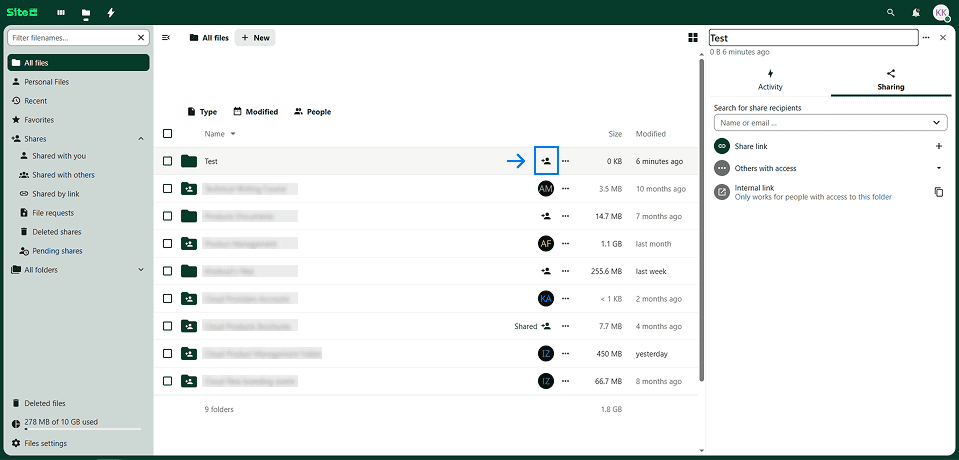
Share Folder & Permission Management
- after creating a folder, to see its sharing options, click on the Sharing symbol corresponding on the newly created folder.
- There, the user will find multiple option to share the folder (internally, external links, internal links, etc.) this guide will look at them one by one to see each's capabilities.
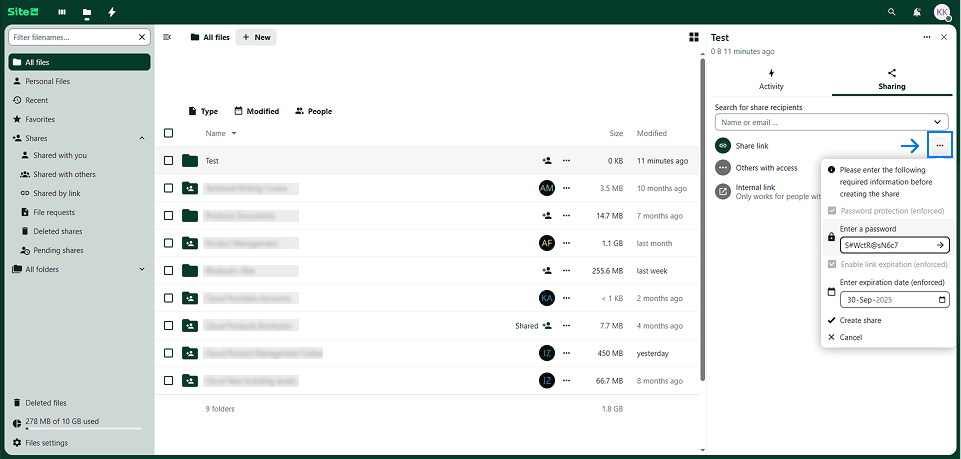
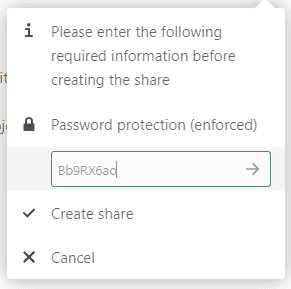
Eternal link
By clicking on the plus symbol, prior to generating a link, the system will ask you to enter a password. This password will be used to protect the link with it, and to be shared with the authorized recipients ( should be shared in a separate channel ).
Note: The password must be at least 12 characters long and include numbers, uppercase and lowercase letters, and symbols.
After creating the link, the user can find a clipboard symbol, click on it to copy the link to the user's clipboard.
_____________________________________________________________________________________________
_____________________________________________________________________________________________
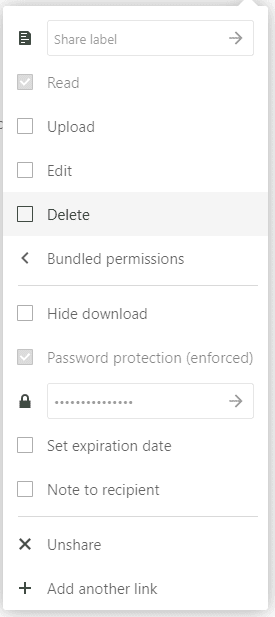
along with the clipboard symbols, there will be a three dots (...) symbol that can be used to manage the privileges of the newly created link:
- Read Only: They can see the files and download them without deleting the original file/s in the folder
- Allow upload and editing: They can upload, add, edit, and/or delete files in this particular folder
- File drop: They will not see the folder not delete the existing files. They can only upload with no control.
- Custom permissions: You can apply your custom permissions the way you exactly want it to be.
- Hide download: Regardless on the above options, they cannot download the files in the folder once this option selected.
- Password: You will be able to change the password if you lost it. passwords cannot be viewed once it’s applied, make sure to save it in another place before applying it.
- Set expiration date: The link will be deleted, meaning the link will expire, but the files will be untouched.
- the least amount of time for the link to expire is one day, you cannot set up less than that.
- Note to recipient: This will show a message in the upper-right corner for your clients.
- Delete share link: After you are done with the link, you can delete it manually
- Add another link: You can create multiple links for the same folder/file, and share it to different people (Each link will have its own restrictions and options).
_______________________________________________________________________________________________

_______________________________________________________________________________________________
- Note: above was an example of Folder permissions, file will be the same except it will be missing the delete & upload options.
Internal Sharing
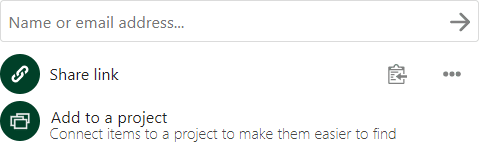
Now, let’s take the “internal sharing option” option, by clicking on the field right above the share link, then typing the name of the person you want to share the folder with.
_______________________________________________________________________________________________
After that, you can see all the people you shared the file/folder with listed right below “share link” option, with three dots (…) corresponding each one to set up the permissions separately.
- It’s possible to share the file/folder with a whole group as one of the options you can search for using the same search field, and it will be treated the same as the other users who received the shared folder.
Internal Link
Another sharing feature the “Internal link”.
This is to provide a quick access to file/folder without the need to search for it.
Let’s say there’re two users: A & B, user A owns a file named “report 10/24/2022”, and user A have shared this file to user B. if user A were to ask user B to look for that specific report that they shared with them earlier, and with the possibilities of having a huge amount of files in user B personal storage, it would take so much time to look for that exact file.
Alternatively however, user A could provide user B with an internal link for that file and share it with them, user B will have to login to the system first, after that it will send them directly to that file without the need to search for it. User A will not have to set any passwords on the link, all that’s required is the one receiving the link is already one of the users who received this share earlier, if this link is shared with a user who didn’t receive any share activity earlier from user A, then they’ll not be able to use that link whatsoever.
The internal link doesn’t have to be from the owner only, it can be done from one of the recipients to the owner as well, also from one recipients to another one, as long as they have access to the file/folder prior to creating the link, so it's much flexible.
You can copy the link by simply clicking on the clipboard icon that’s corresponding with the internal link option.

_________________________________________________________________________________________________
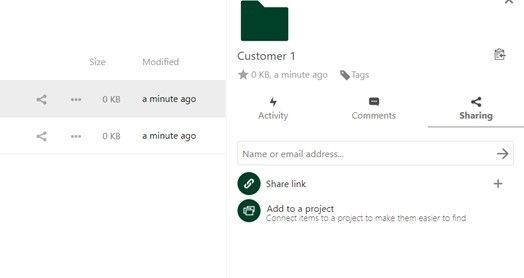
Projects
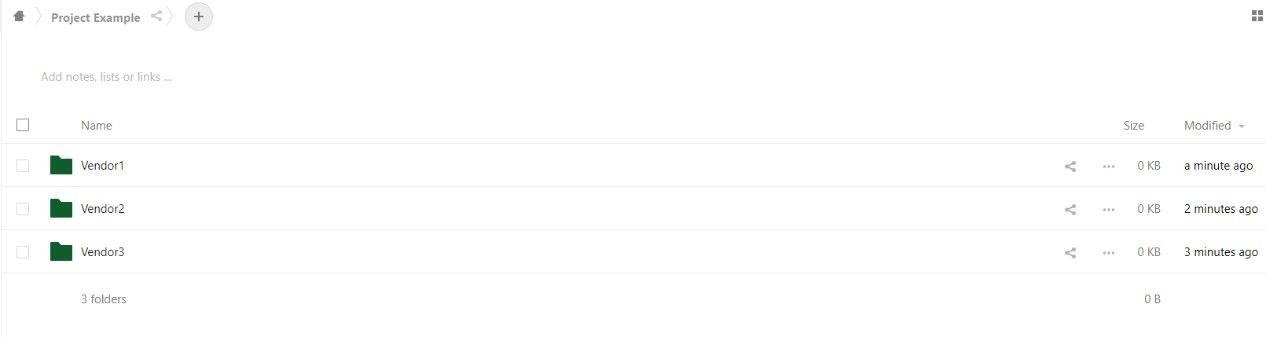
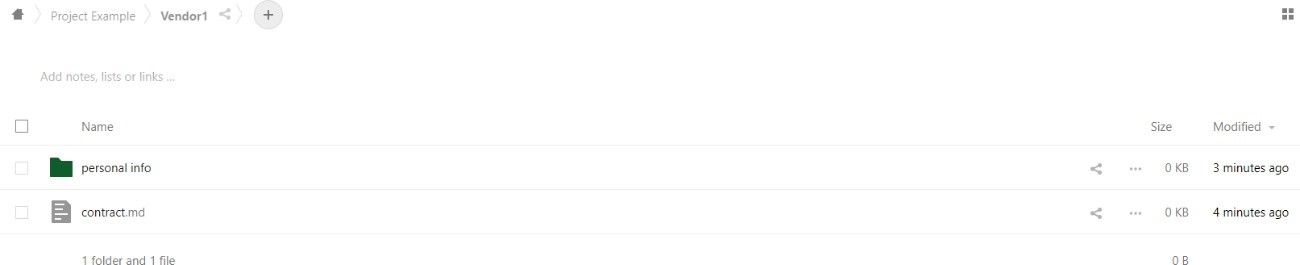
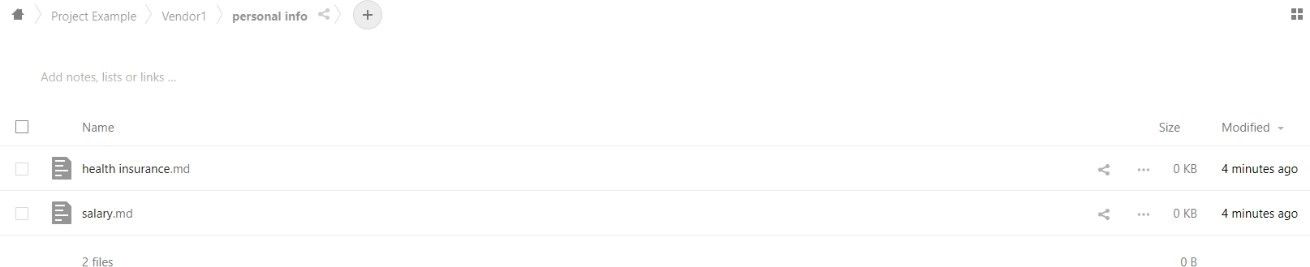
The last sharing option, let’s say a user is tasked to be list all the information about vendors the firm have signed with, and each vendor have their own folder with all their data including the contract & some personal info:
__________________________________________________________________________________________________
__________________________________________________________________________________________________
__________________________________________________________________________________________________
Now, the user need to submit one task: collecting all Vendors contracts
In order to achieve such request, the user can use the project sharing feature where they can link all contracts located in different folders to one project: All they need to do:
- Select the file they want to share.
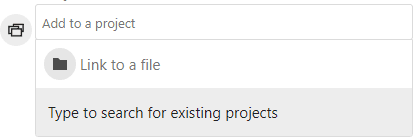
- Select “add to a project”.
- Select “link to a file”.
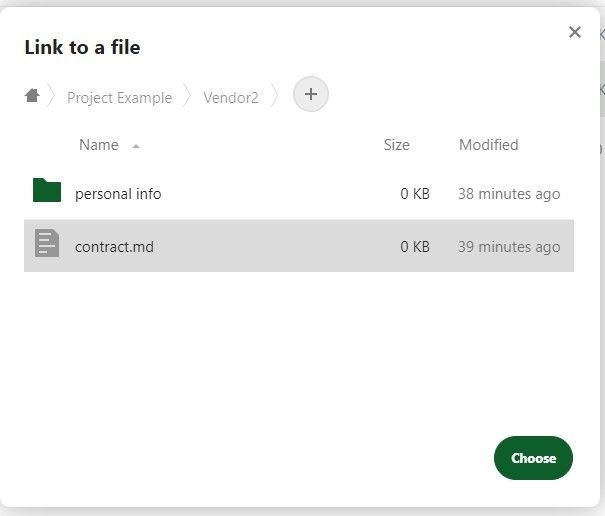
- Navigate to the wanted file then select “choose”
- If they want to select a folder they don’t need to specify a file, just navigating to the path then select “choose” without selecting any file inside it.
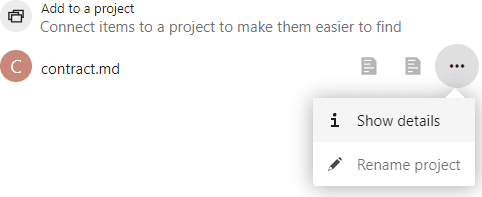
- Now they are linked under one project and it will appear right below “Add to a project” but they’ll need to rename it, by selecting on the three dots (…) right next to it.
- Selecting rename and start renaming, then selecting the arrow icon to save the changes.
___________________________________________________________________________________________________
___________________________________________________________________________________________________
___________________________________________________________________________________________________

___________________________________________________________________________________________________
To add another folder to an existing project:
- Select the file to be shared.
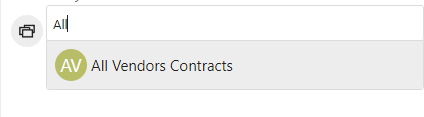
- Select “add to a project”
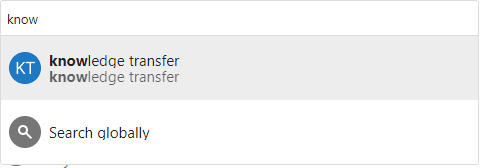
- Type in the project name and it will auto-complete.
- Select the project.
- Now it’s linked.
___________________________________________________________________________________________________
To delete files from a project:
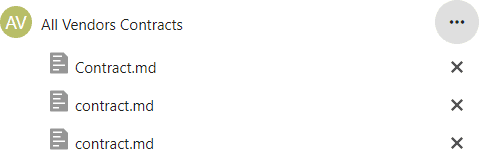
- Select the three dots (…) right next to the project.
- Select “Show details”.
- All the files and folders assigned to the project will be listed below, to remove a file select the “X” icon right next to the file/folder that need to be removed.
- To remove the whole project, select all the X icons inside the project to be remove automatically.
Important Notes:
- You can select the item inside a project for a quick access to it.
- You can access the project from any file/folder’s sharing sidebar that’s included in that project
- only the people that have access to all the content inside a project have the ability to view and edit the project.
Transfer Ownership
In some cases, one user must more the ownership of a file/folder to another, this means they’ll be moving the ability to share, un-share, creating external links applying tags to it, and viewing all the activities on that file/folder to another user. In order to do that:
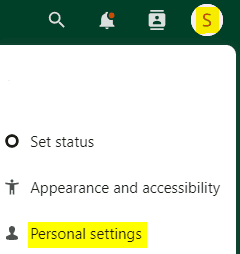
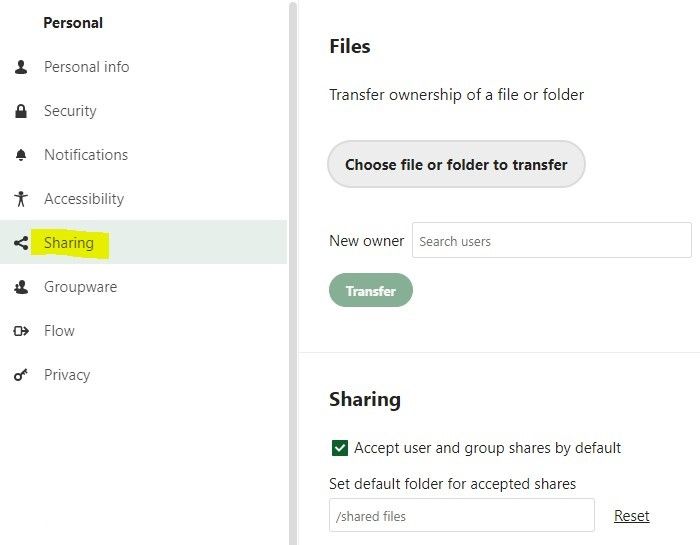
- at the top-right corner, select the user image/initials icon then select “settings”.
- Under “personal” tab at the left sidebar, select “sharing”.
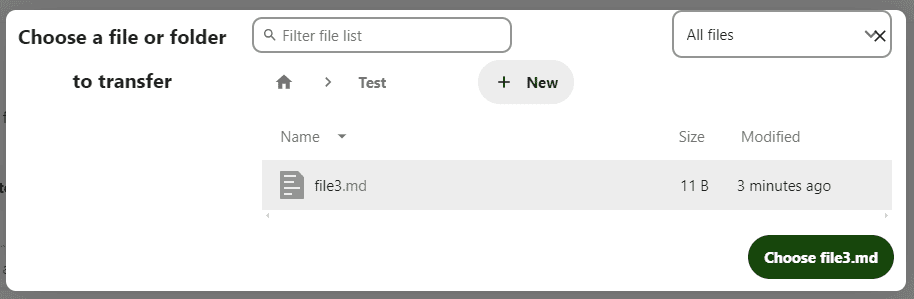
- Select “Choose file or folder to transfer”.
- Navigate to the file/folder to transfer the ownership.
- If they want to select a folder they don’t need to specify a file, just navigating to the path then select “choose” without selecting any file inside it.
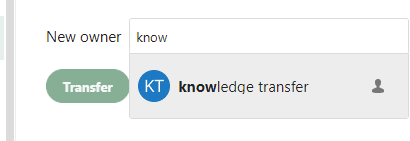
- Select the “search users” field, right next to “New owner”.
- Type in the user to transfer the ownership of the file/folder to, auto-complete feature is available there as well.
- Select on “Transfer”.
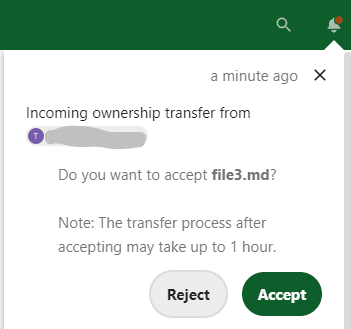
- Now, a transfer request has been sent to the user.
- The recipient user has to select on the bell icon at the top-right corner to see all the notifications.
- There will be a transfer request, with a note that it could take a while for the process to be done, select accept.
- The file has been transferred successfully.
____________________________________________________________________________________________________________
Default folder for accepted shared objects
Another feature to be consider is setting up the default path for all the received shared files/folders.
- at the top-right corner, select the user image/initials icon then select “settings”.
- Under “personal” tab at the left sidebar, select “sharing”.
- Under “Sharing” select “/” to set up a default path.
- “/” being the root path (i.e. the very first page after login).
- Select a folder then “Choose”.
- You can create a new folder by selecting the plus icon, typing the new folder name then selecting. the arrow icon, then the new folder will appear.
- Now the default path for accepted shares has changed to the new path.


Confidentiality
This document may contain information of a sensitive nature. This information should not be shared with anyone other than those for whom it was originally intended. No one else may disclose, distribute or otherwise use the contents of this document without the express written permission of the owner. Unauthorized use, disclosure, dissemination, duplication and/or distribution are strictly prohibited, and may be unlawful. If you receive this document in error, please immediately delete it and all copies of it from your system, destroy any hard copies of it, and notify Saudi Information Technology Company.
Copyright
The information contained in this document is the proprietary and exclusive property of Saudi Information Technology Company except as otherwise indicated. Notwithstanding its intended purpose, no part of this document, in whole or in part, may be reproduced, stored, transmitted, or used for any purpose without the prior written permission of the Company.