Object Storage (S3)
Definition
Object Storage (S3) is a data storage architecture that stores data as objects, where each object includes the data, associated metadata, and a unique identifier. It enables easy access through APIs, supports large-scale storage of unstructured data such as images, videos, backups, and logs, and offers high scalability, durability, and efficient metadata management.
Features
- Scalability: Supports massive amounts of data, scaling from terabytes to petabytes and beyond.
- Durability: Ensures high data durability through data replication or erasure coding across multiple locations or devices.
- Metadata Support: Allows rich, customizable metadata for each object, enabling advanced search and organization.
- Access Management: Allows access control through Access Control Lists (ACLs). You can grant specific permissions to users at the bucket level, ensuring secure and controlled data access.
- Cost Efficiency: Optimized for storing large volumes of infrequently accessed data at a lower cost.
Use Cases
- Backup and Archiving: Secure, long-term storage for system, application, and enterprise data with high durability and retention policies.
- Media Storage: Ideal for hosting and delivering large volumes of images, videos, and audio used in digital platforms and streaming services.
- Web and App Assets: Storing static assets such as HTML files, JavaScript, CSS, and multimedia for front-end delivery.
- Centralized Data Repository: Serving as a central repository for structured and unstructured data.
Prerequisites
- A provisioned and running Virtual Machine (VM)
Step-by-Step Guide
1- Navigate to Object Storage (S3)
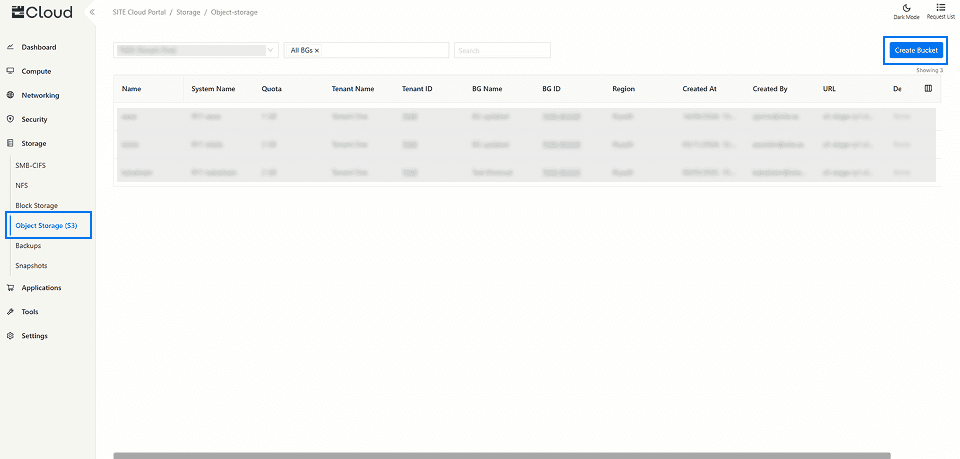
- Access Through Storage Section: On the side menu, through Storage section select “Object Storage (S3)”.
- Create a new Object Storage (S3) Bucket: If you don't have an existing bucket you can press “Create” to make a new one.
2- Create Object Storage (S3) bucket
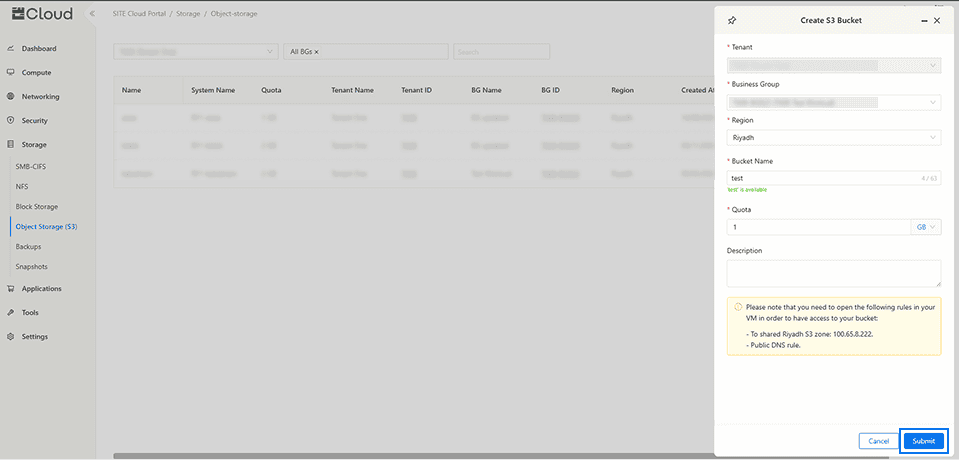
2.1 After clicking "Create", a modal will appear prompting you to fill in the required fields, including a unique bucket name; once completed, click "Submit" to initiate the creation of your bucket.
Note: you must open the firewall rules as suggested in the warning message that will appear after filling the form.
3- Access Bucket Details
3.1 By clicking on the bucket name, a Details Tab will appear showing general information about your bucket and its storage configuration. From this tab, you can also edit your storage quota.

3.2 The Access Keys Tab allows you to grant access to users and specify the access type—Read, Write, or both—by clicking “Add Key”. After filling in the required fields, click “Save” to generate the user.
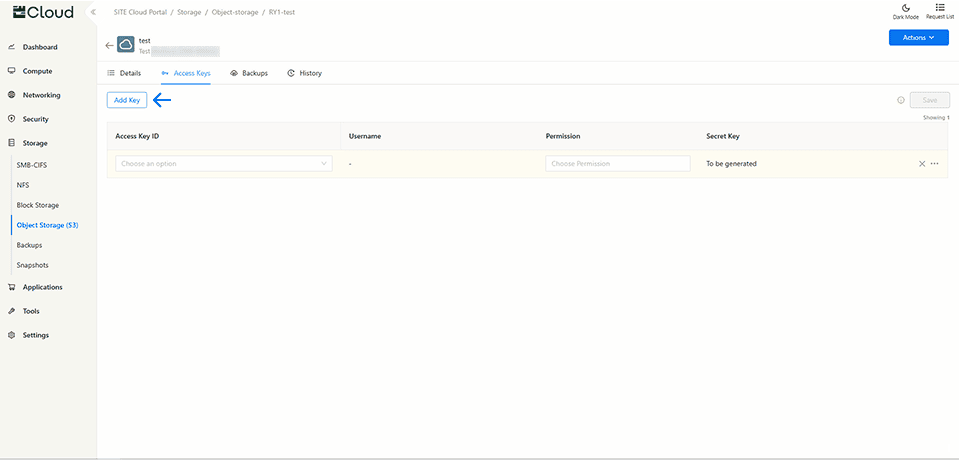
Note: The secret key will not be shown again for security reasons. Make sure to copy and store it securely.
3.3 Backups Tab – please refer to Object Storage Backup & Restoration for more information.
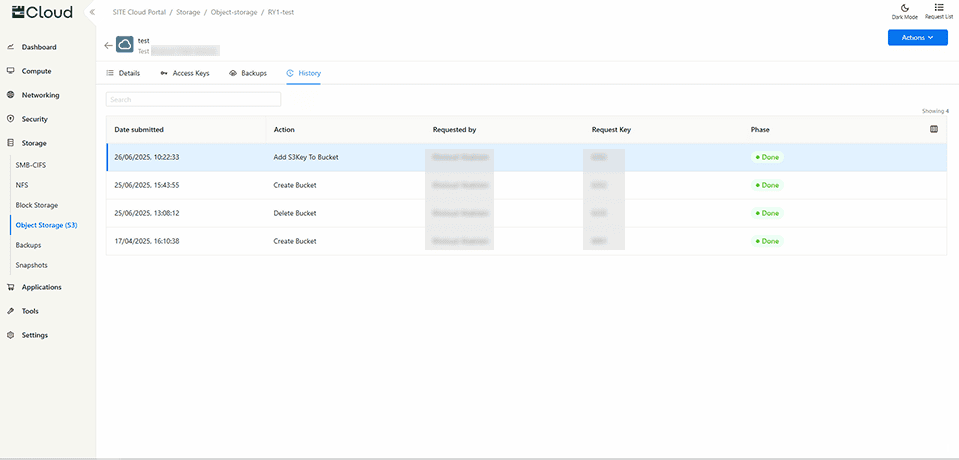
3.4 History Tab displays a complete log of all changes and actions performed on your bucket, providing a detailed record for tracking modifications and updates.