

Search...


Business Groups
Definition
Business Groups (BGs) serve as an essential organizational framework within a cloud environment, enabling the efficient management and allocation of resources across various departments or teams within a tenant. This flexibility fosters collaboration and enhances overall resource management.
Business groups are responsible for managing metadata about resources while focusing on permissions and resource allocation. This shift encourages a collaborative environment where resource sharing is optimized, and operational efficiency is improved
Features:
- Flexible Resource Sharing: Resources can be shared across multiple business groups, eliminating bottlenecks and improving resource utilization.
- Granular Access Control: Access to Business Groups can be restricted by users, ensuring only authorized personnel can make changes.
- Enhanced Workload Separation: Business Groups allow customers to group workloads, making management easier and improving communication within each business group.
Sample Use Cases
- Managing Permissions Business Groups is used to manage user permissions. for more info, refer to the following link: Permission Profiles.
- Project-Based Resource Management: Business Groups can be created for specific projects, allowing each project team to manage its resources independently.
- Departmental Resource Allocation: Business Groups can be assigned based on departments (e.g., HR, Finance, R&D), allowing each to manage its workloads independently.
- Cost Management and Optimization: Business Groups help segment costs by business unit, project, or application. Each Business Group can have a budget or cost-tracking mechanism, making it easier to analyze and control cloud expenses across different areas.
Step-by-Step Guide
Navigation to Business Groups
- Access Through Settings Section: On the side menu, through settings section select “Business Groups”

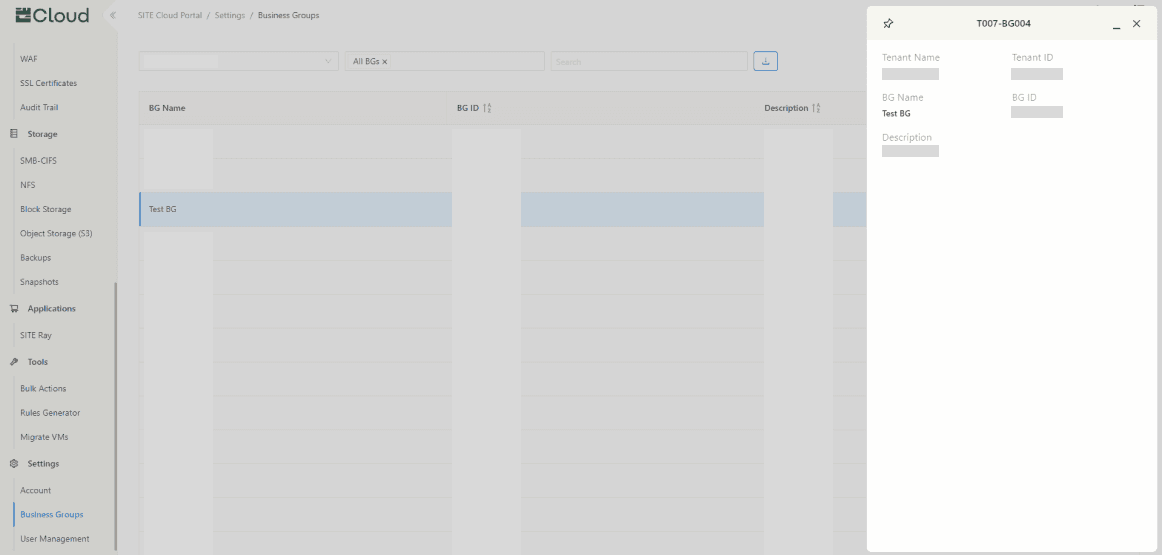
- Viewing Existing Business Group Information: If you already have a BG, press on it to preview the information about it
- Creating New Business Group: If you want to create a new one, press “Create”, and fill up the required information

Updated at 2024-10-31